
¶ How to Install Made4OLT on the Proxmox Virtualizer
To start, we must have the system's OVF downloaded to our virtualizer.
Access this link to be redirected to the OVF download: ** Baixe os arquivos individualmente . **
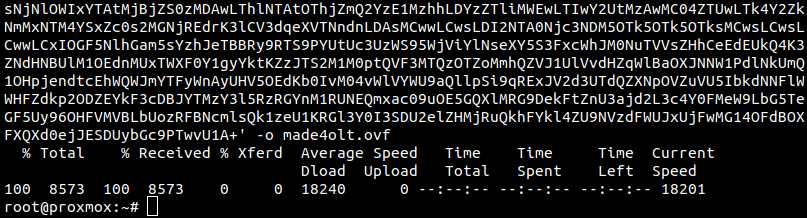
With link in hand, let's download it in our Proxmox:
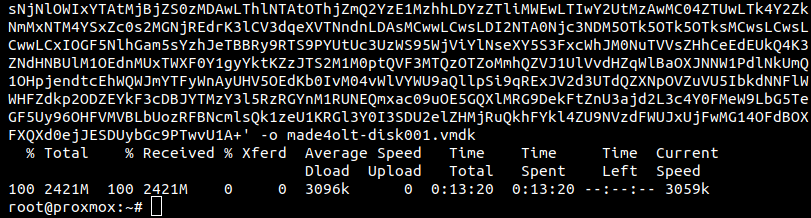
All downloaded files:

After downloading, let's run the commands to create the virtual machine:

Now, we need to add a new “Network Devide”:


We can change the resources of the virtual machine, to what is recommended in this wiki:
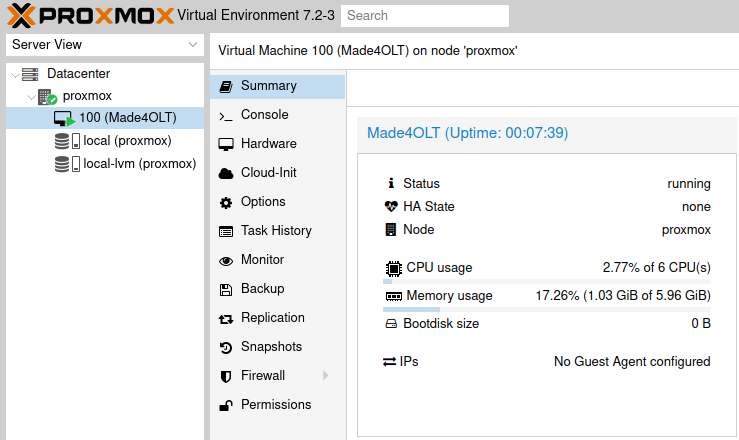
And that's it, now we can start the virtual machine:
After it starts, it may be necessary to assign a IP to the network interface that we added.
Entering the virtual machine console, we can run: dhclient
Or add a static IP to: /etc/network/interfaces