
¶ How to install made4flow on Proxmox virtualizer
To get started, let's download the OVF to our computer.
Access this link to be redirected to the OVF download Download the files individually.
With the link in hand, let's download it to our computer and upload it to Proxmox.
1st - Uploading the downloaded files to Proxmox:
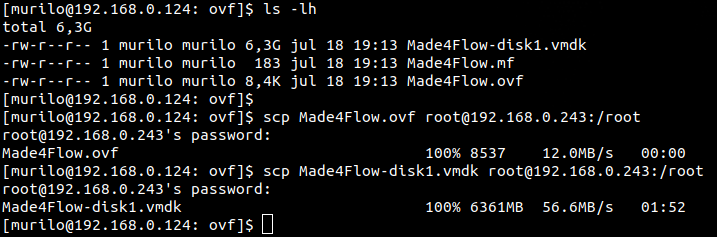
Alternatively, you can use other methods to upload files to your virtualizer, such as: SCP, FileZilla, WinSCP, etc...
It is important that the 2 files are in the same folder within Proxmox!

2nd - Now that we have the 2 files already in Proxmox, let's run the virtual machine creation commands:
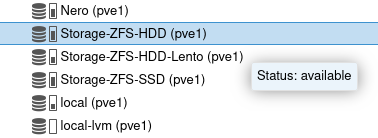
qm importovf $(pvesh get /cluster/nextid) Made4flow.ovf Storage-ZFS-HDD
You should change the import disk according to your scenario, in my case, I chose to leave it in the "Storage-ZFS-HDD" storage.
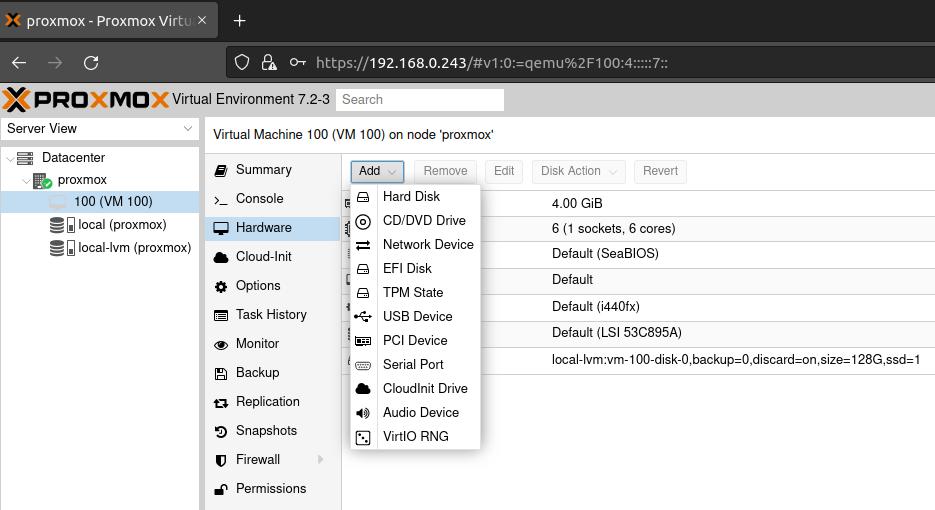
3rd - After finishing the import of made4flow, we need to add a new "Network device":
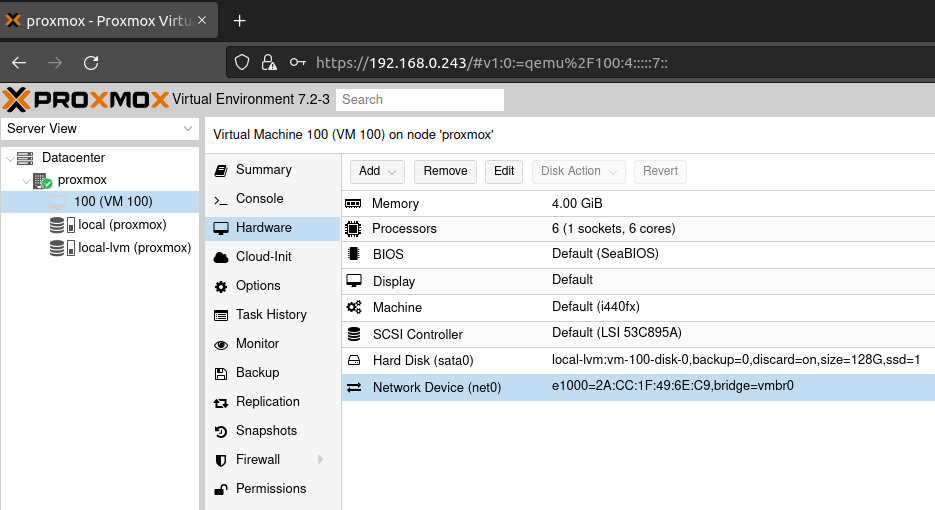
¶ We can change the virtual machine resources to the recommended settings in this wiki according to the requirements:
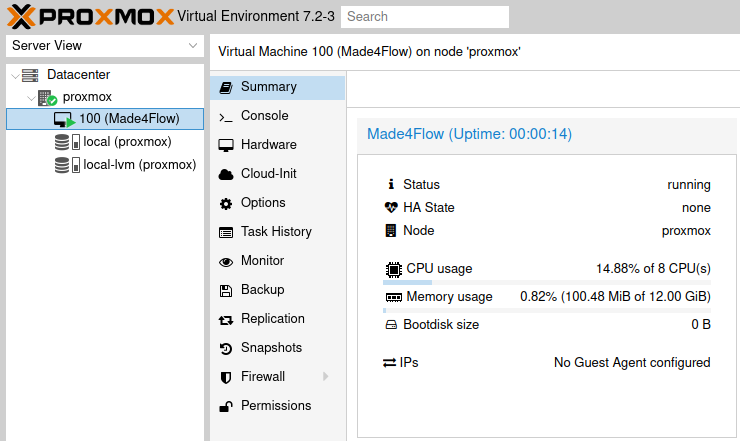
And now we can start the virtual machine:
¶ You may need to assign a ip to the network interface we added:
Entering the virtual machine console, we will log in as a super administrator:
User: root
Password: change123
Also remember to change the root user password for security reasons.
Now as a super administrator, let's follow the steps to set a static ip on the network interface:
...
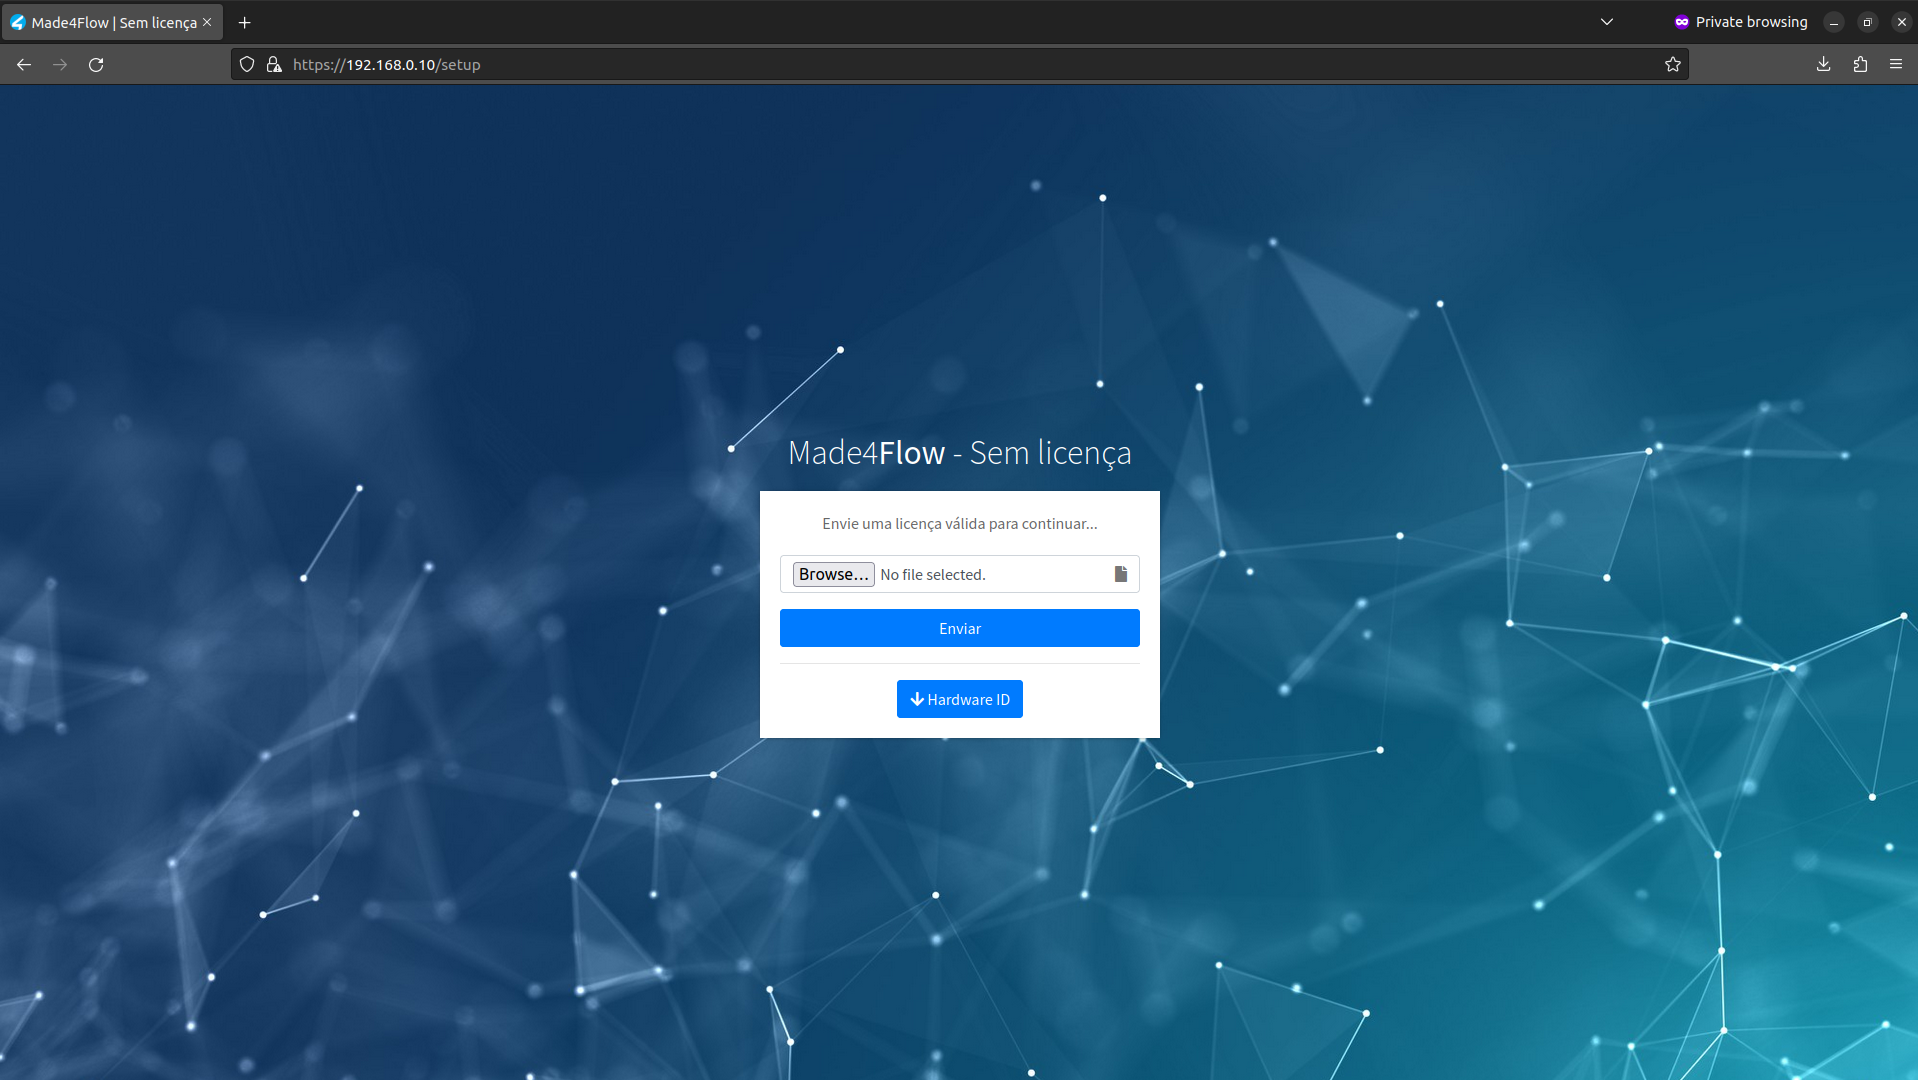
The system's WEB page may take up to 15 minutes to come up, so that the entire system is updated correctly.
Once the system is ready, we will have the screen requesting your license to start setting up the tool: