¶ First steps in Made4Flow
After applying the license you downloaded, the installation wizard will start to help us with the initial basic configuration of the system.
It will be important that you follow the installation with the wizard so that we don't lose our thinking.
To start, let's click on next:
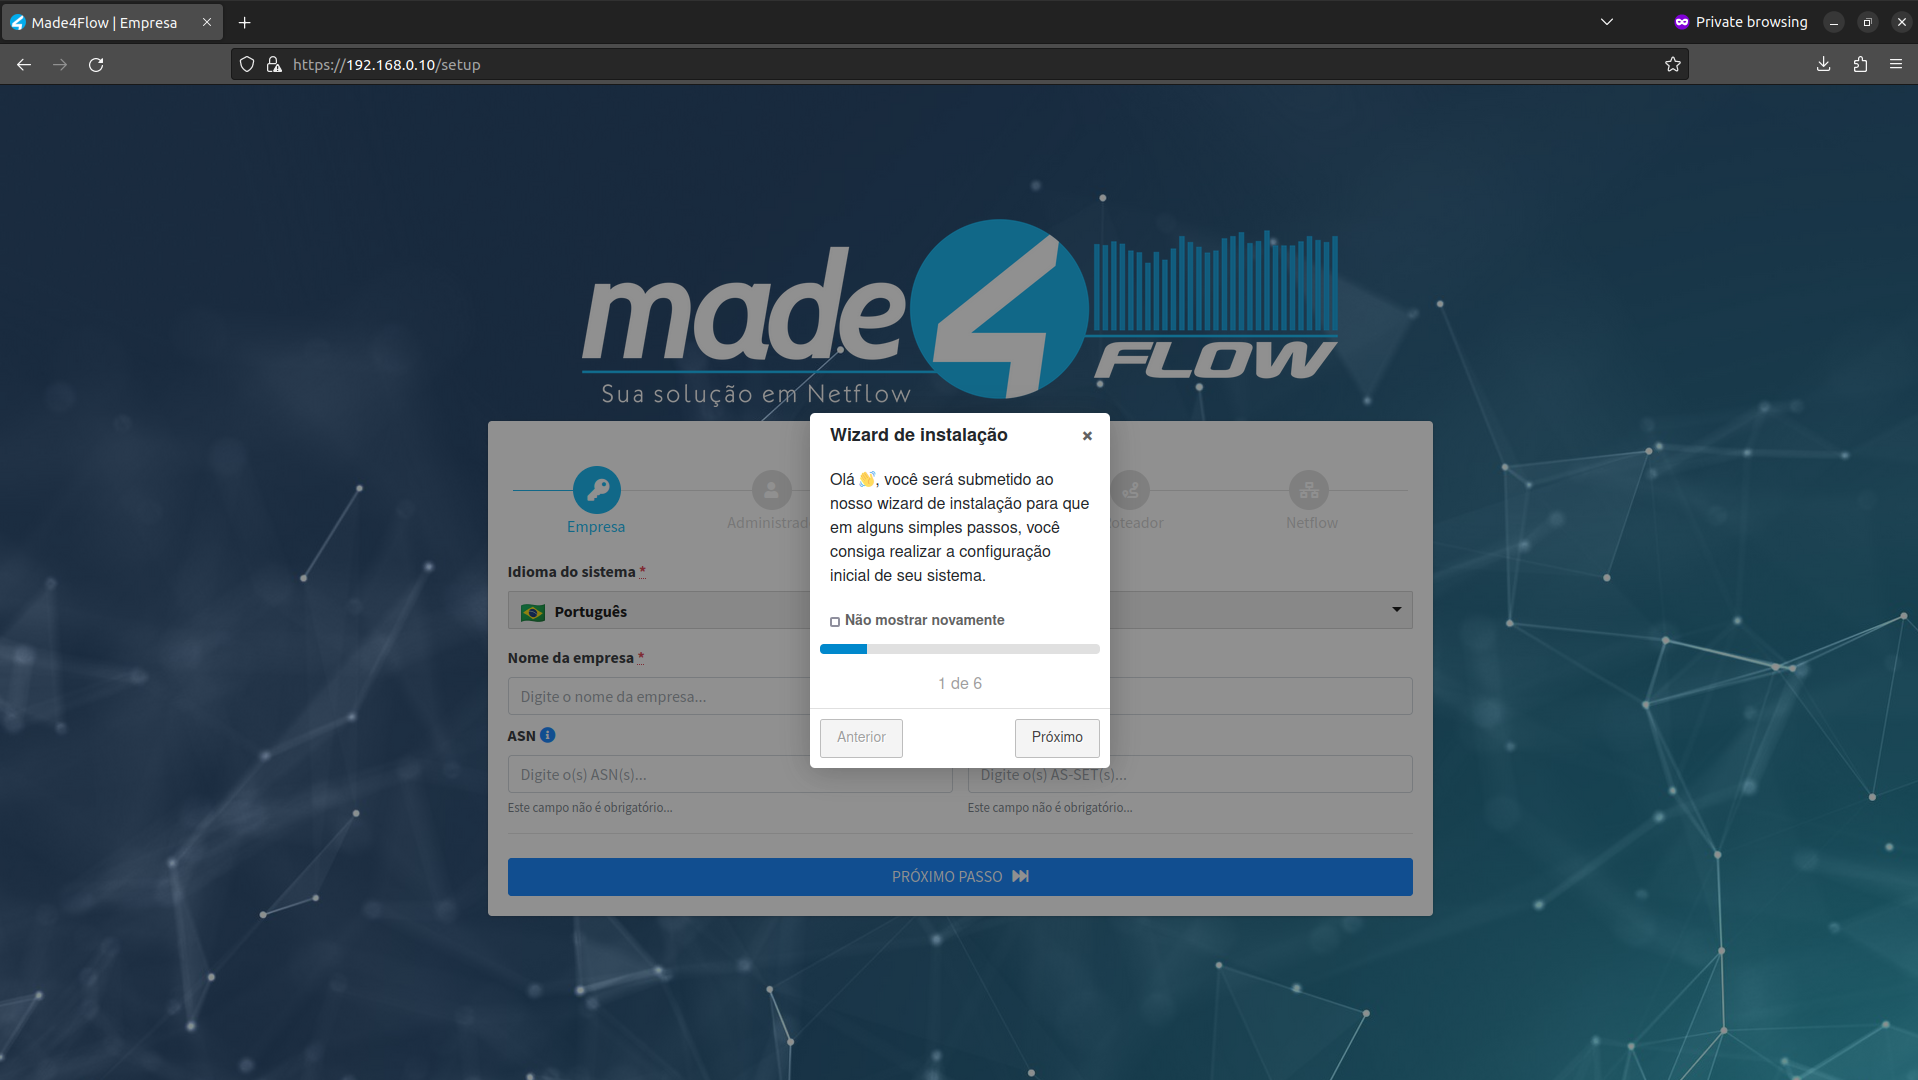
¶ First step
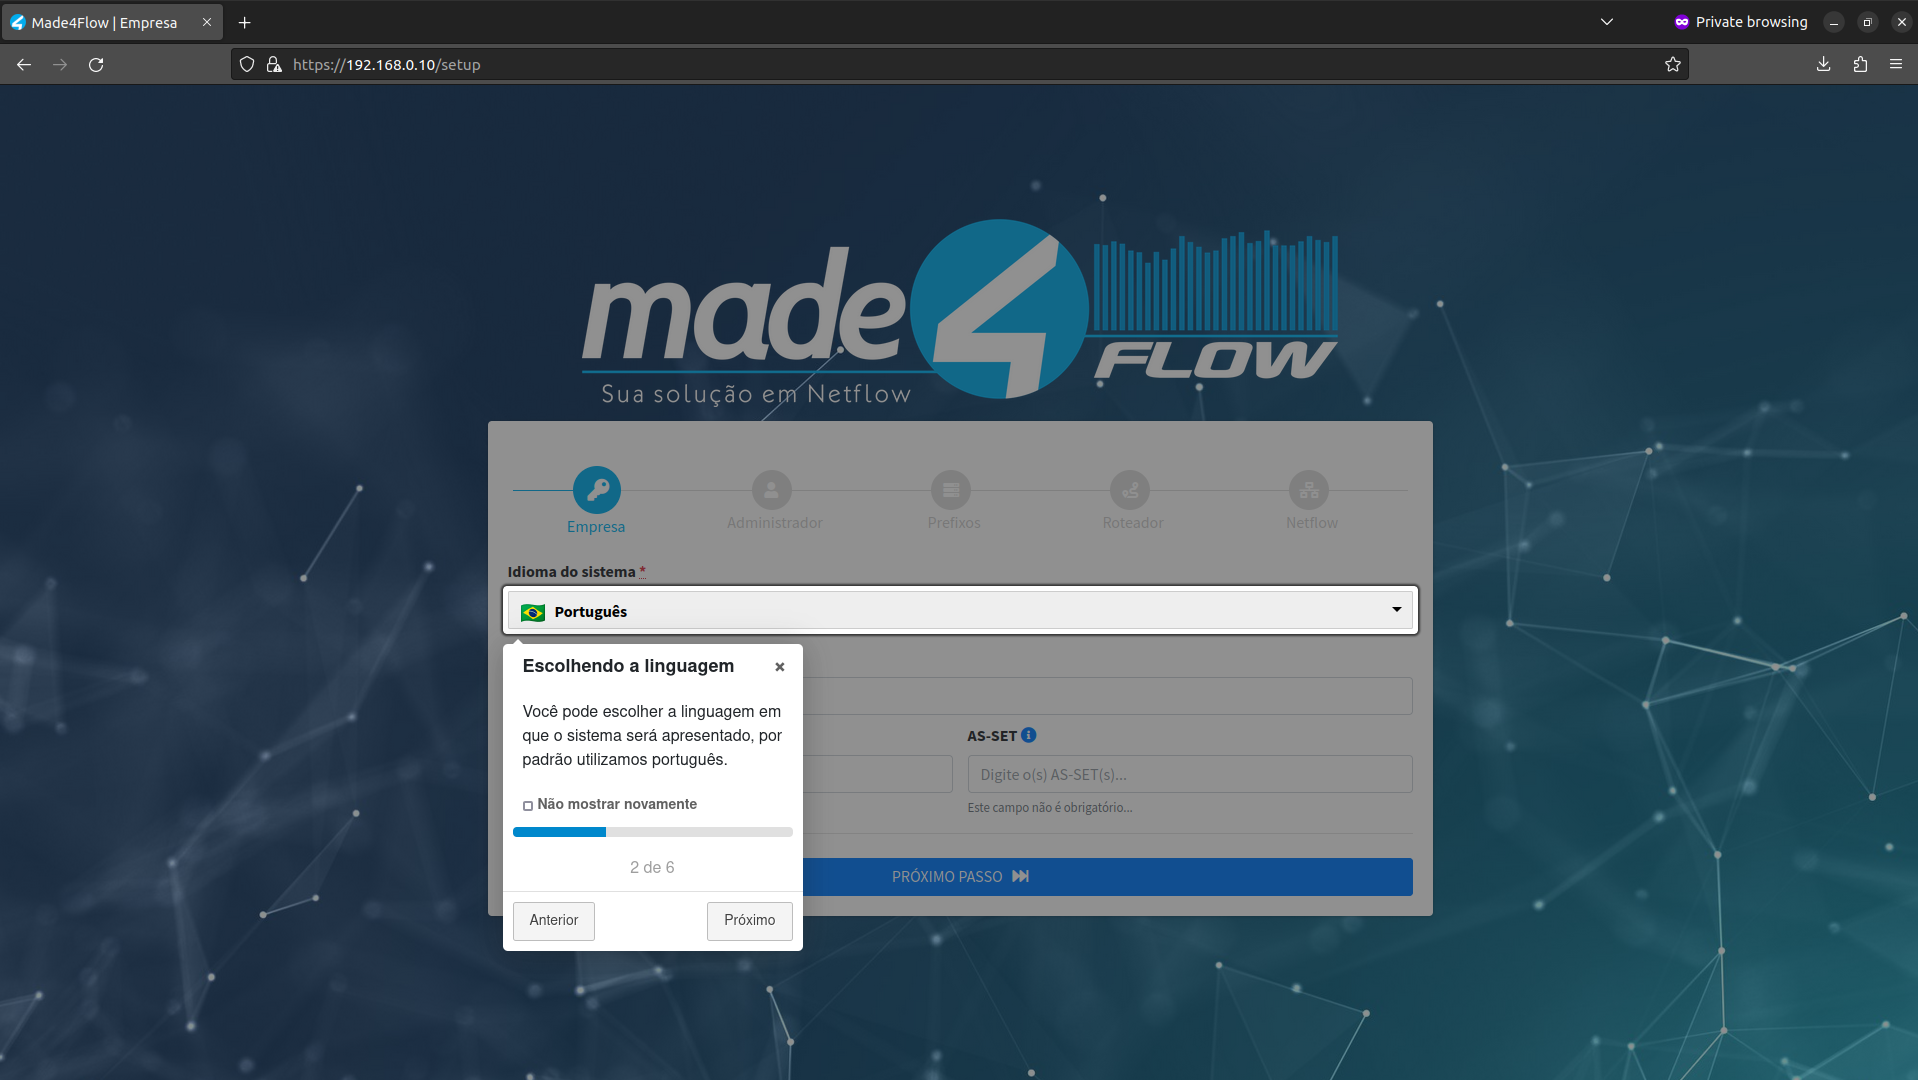
You can choose the language in which the system will be presented:
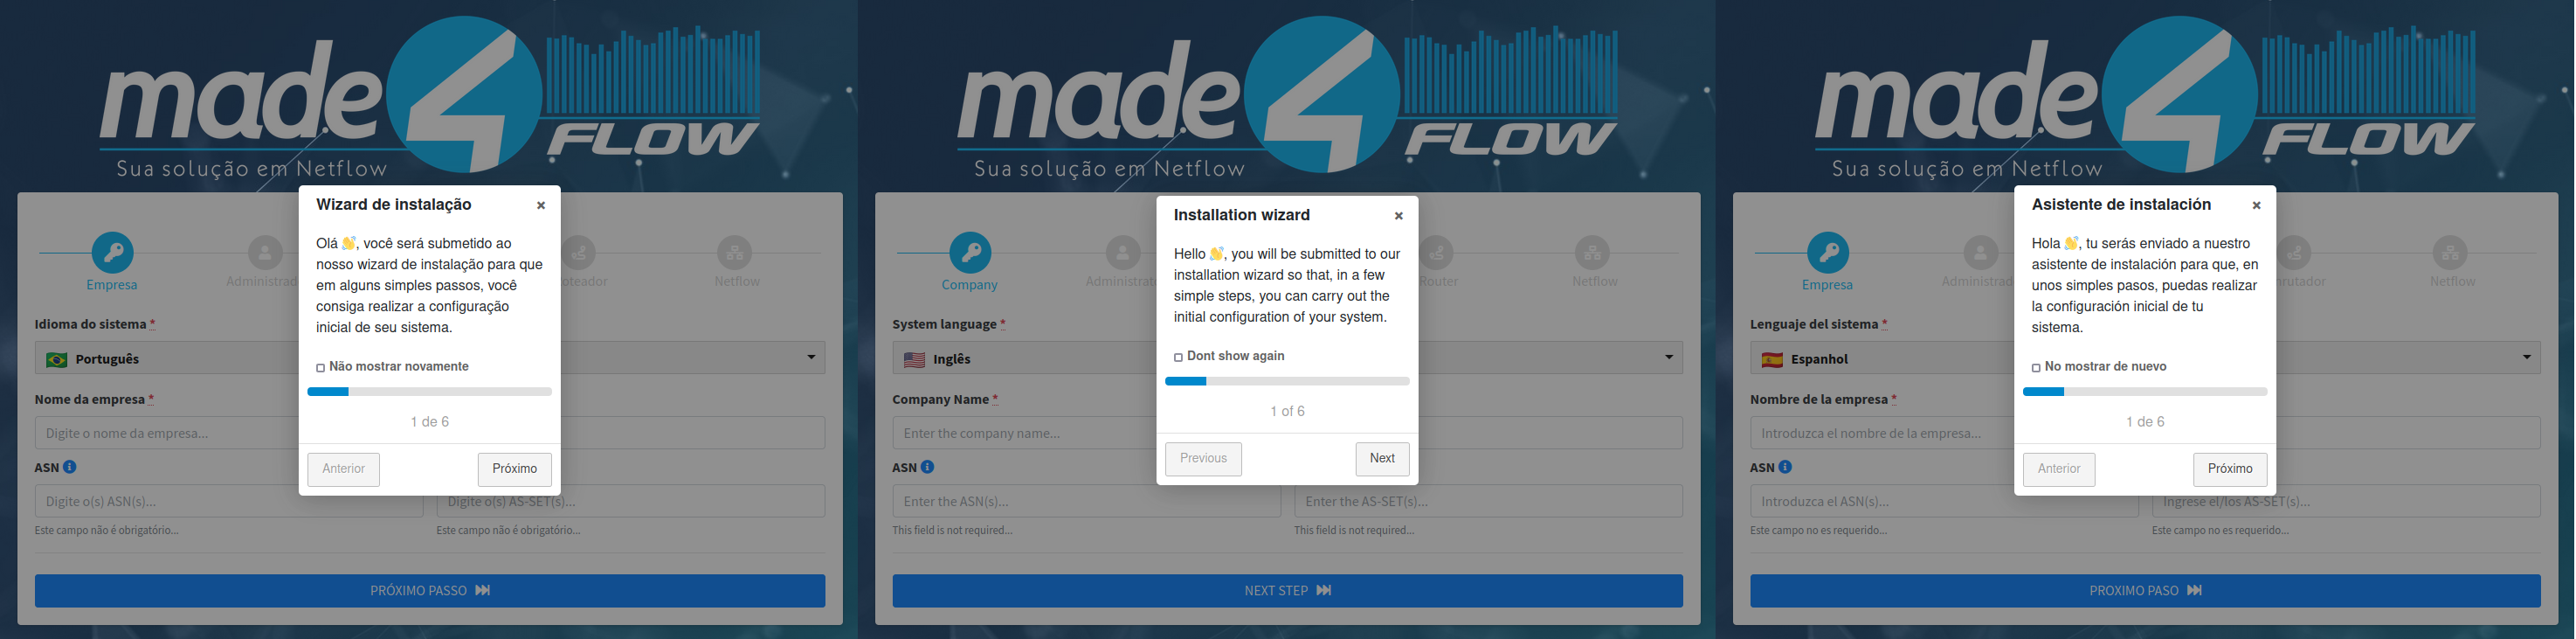
Currently 3 languages are available:
- pt-BR = Portuguese (Brazil)
- en-US = English (United States)
- es-ES = Spanish (Castilian)
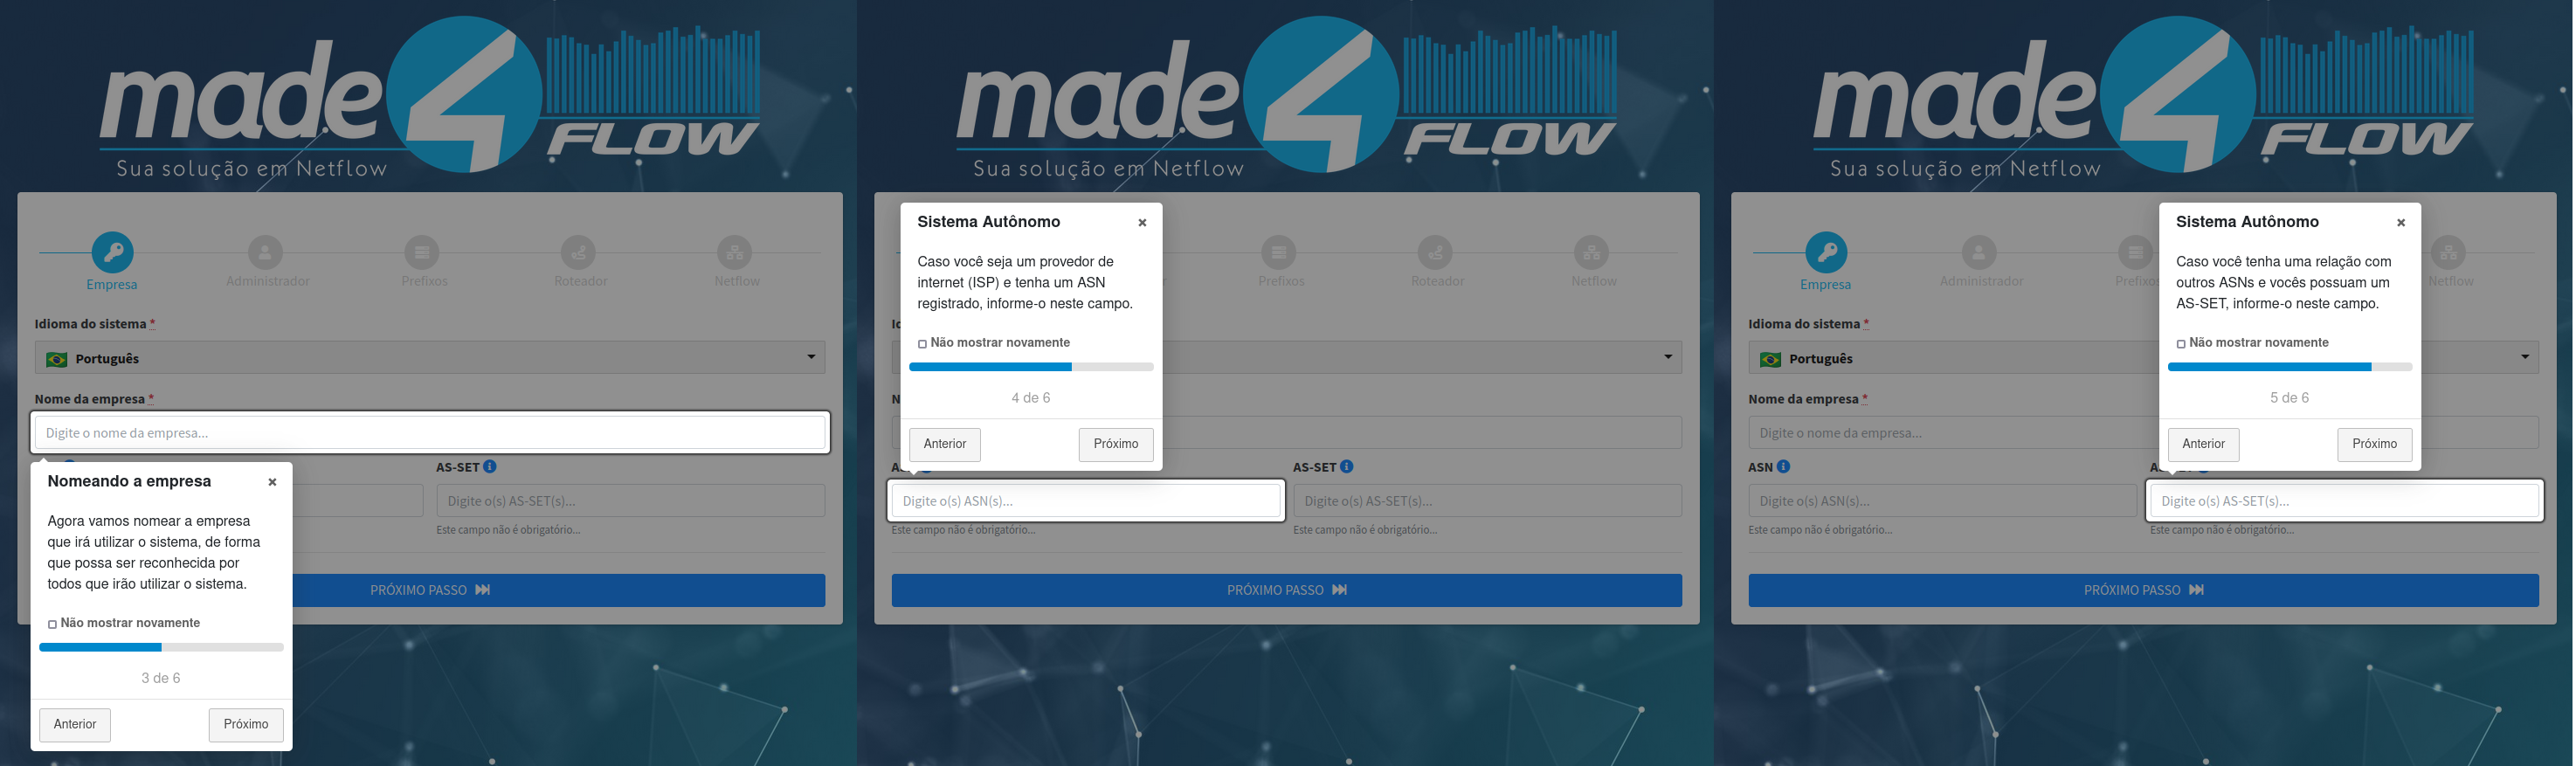
After choosing the language, you must fill in the fields to register the company:
Okay, now we can continue by clicking on “NEXT STEP”.
¶ Second step
The second step is to register the Made4flow administrator.
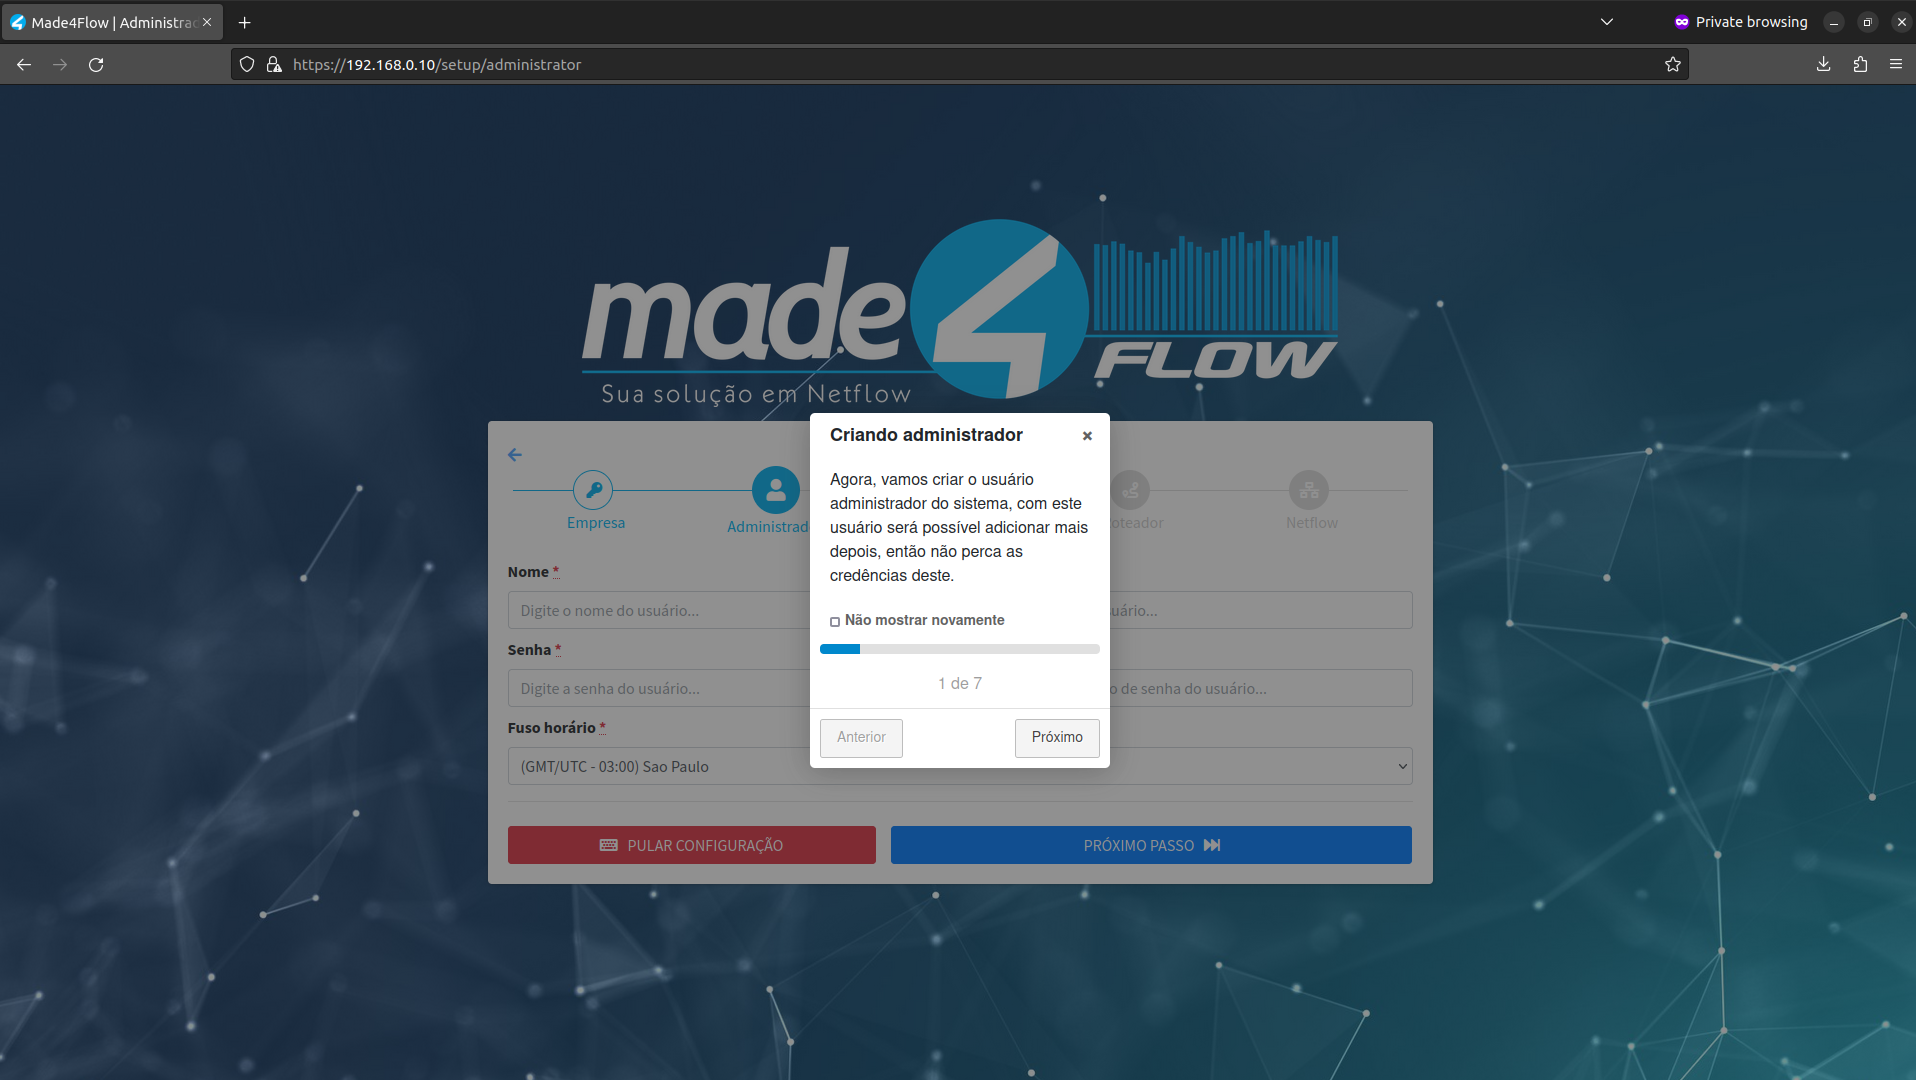
The system administrator is the one who will have access to create new users and perform more privileged actions.
Administrator fields:
- Name: Display name on the system
- Email: Email address for accessing the system
- Password: Password that will be used to access the system
- Password confirmation: Confirmation of the previously entered password
- Time zone: Standard system time, notifications will be sent using this zone
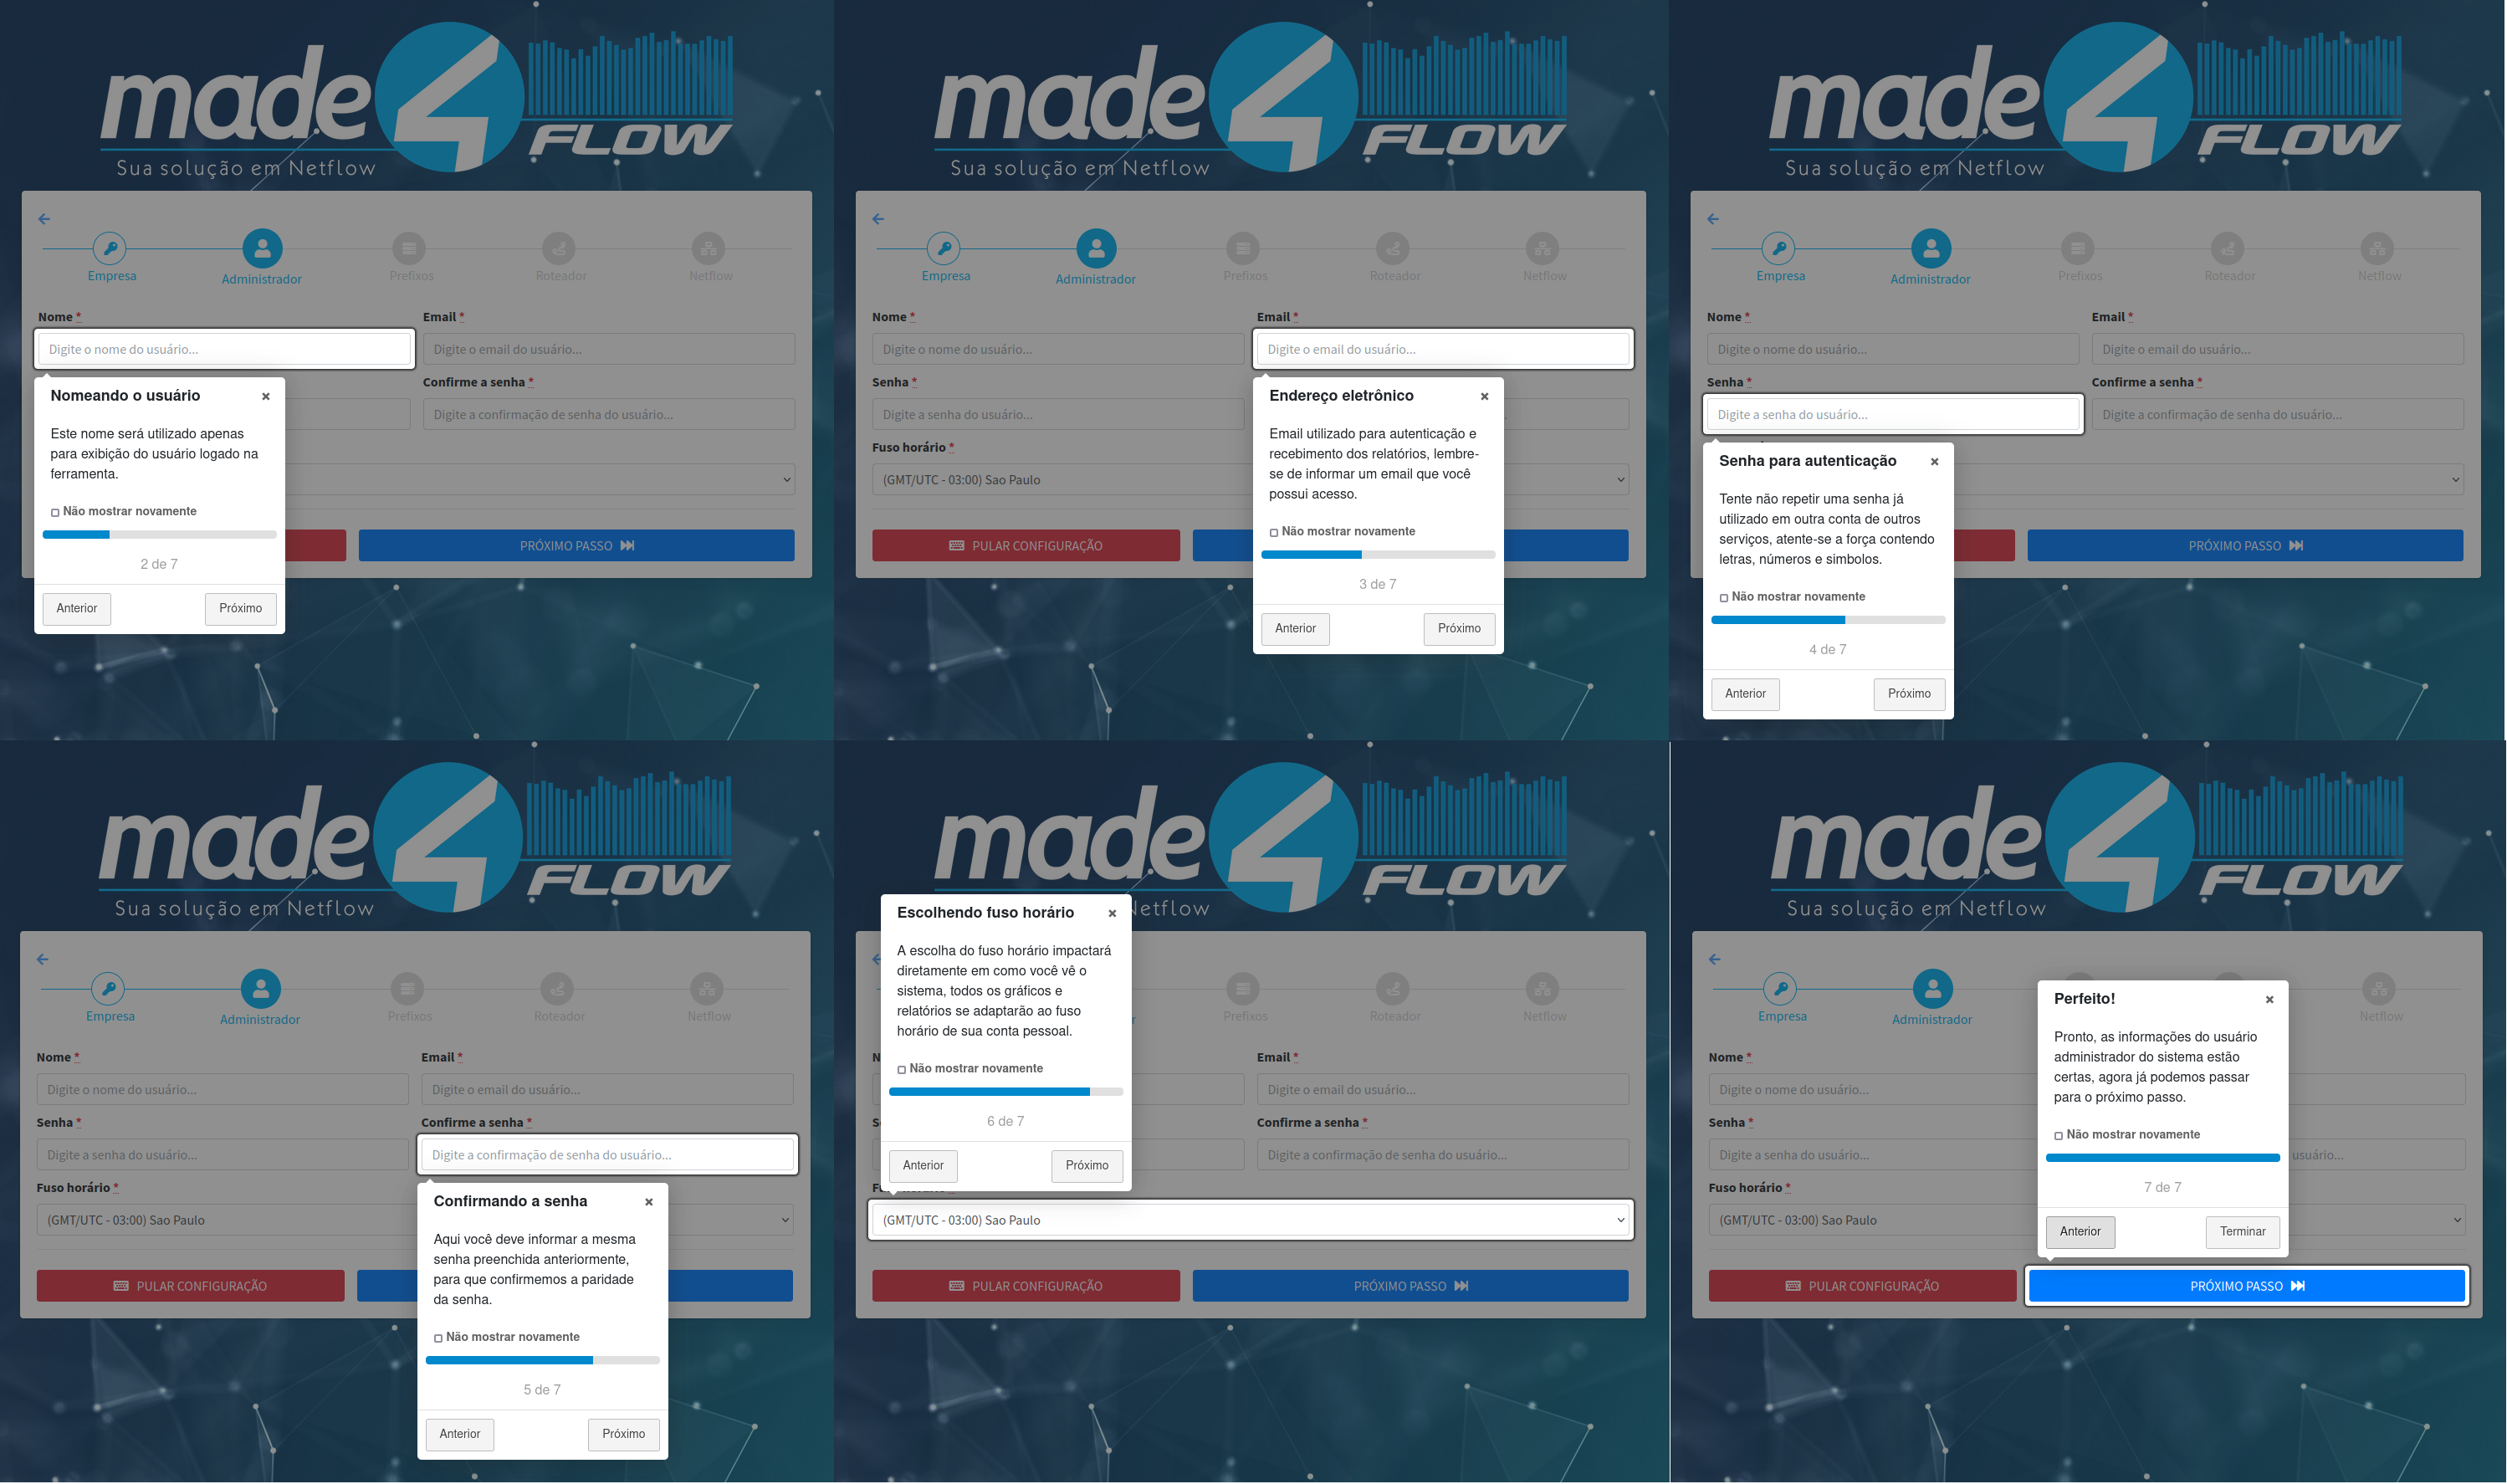
You can also use the “SKIP SETUP” option to skip the next steps.
(We only recommend this option if you're already an experienced user)
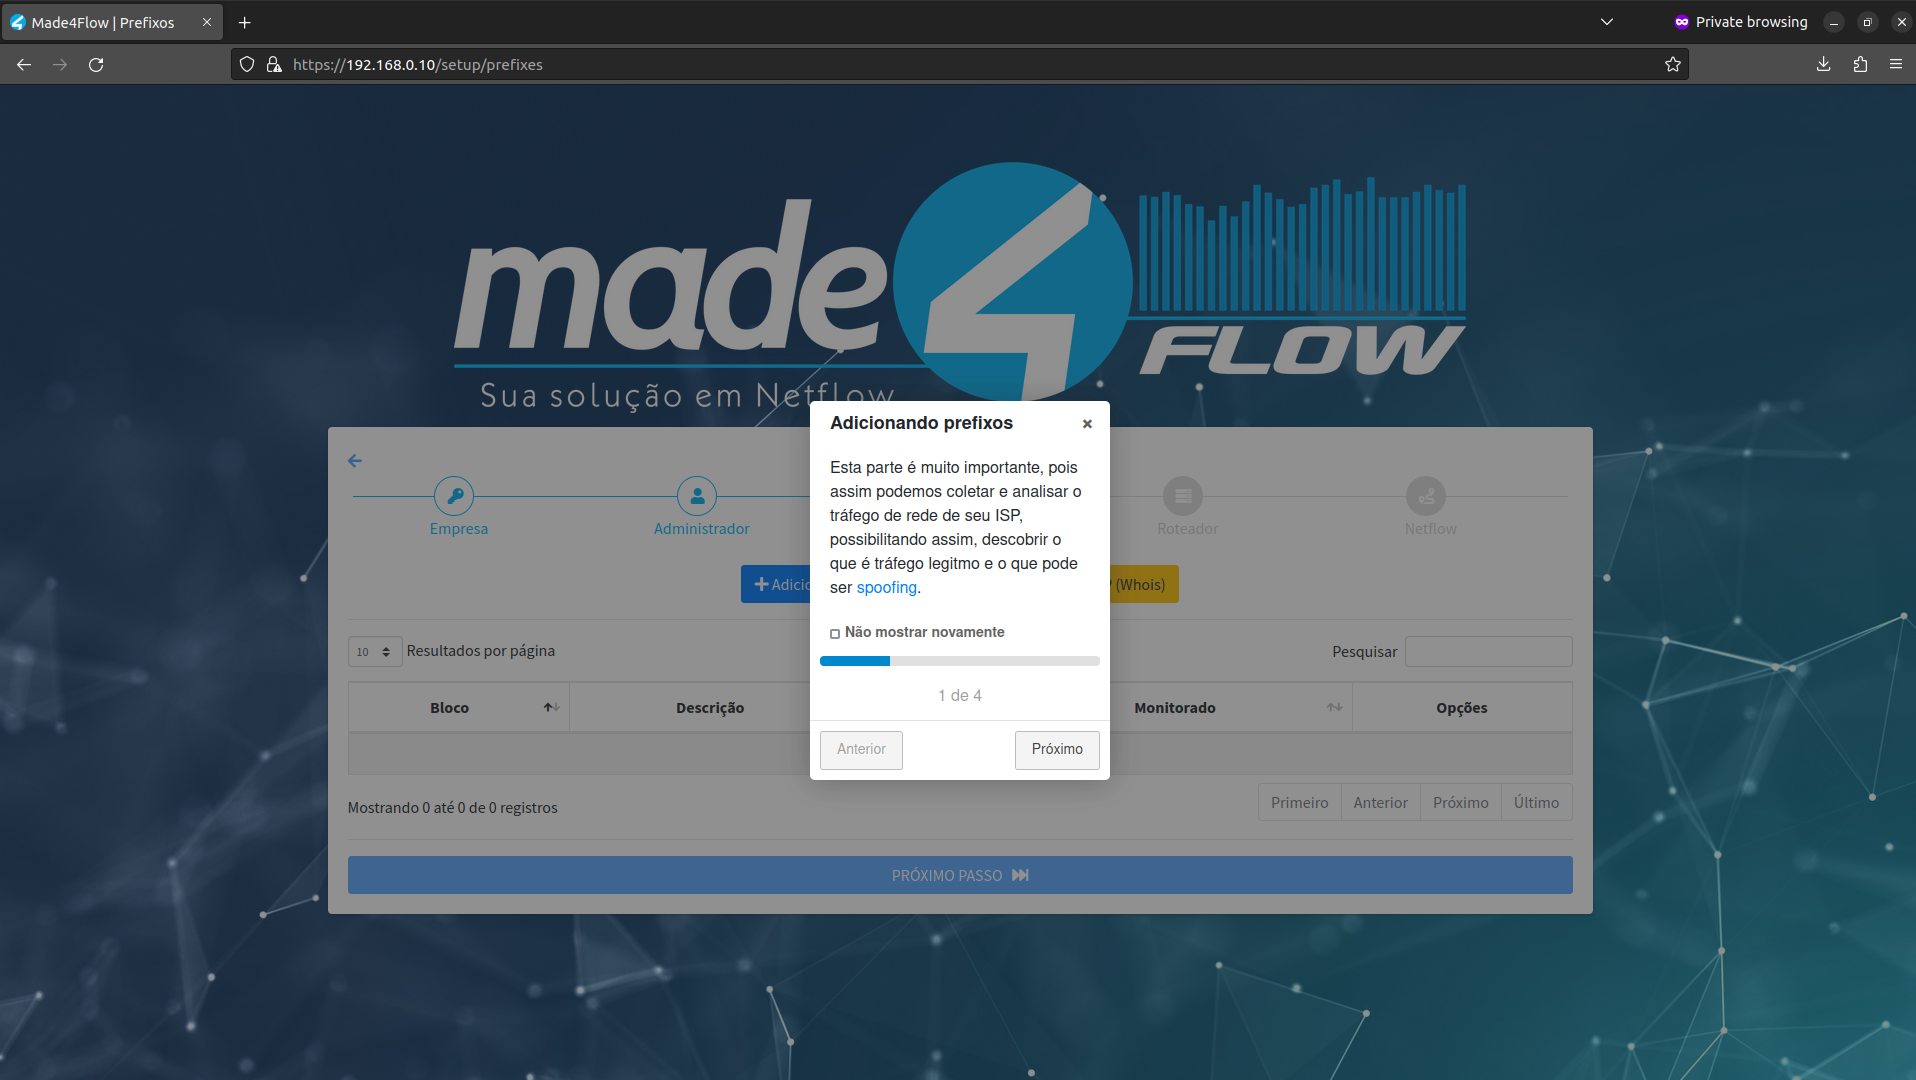
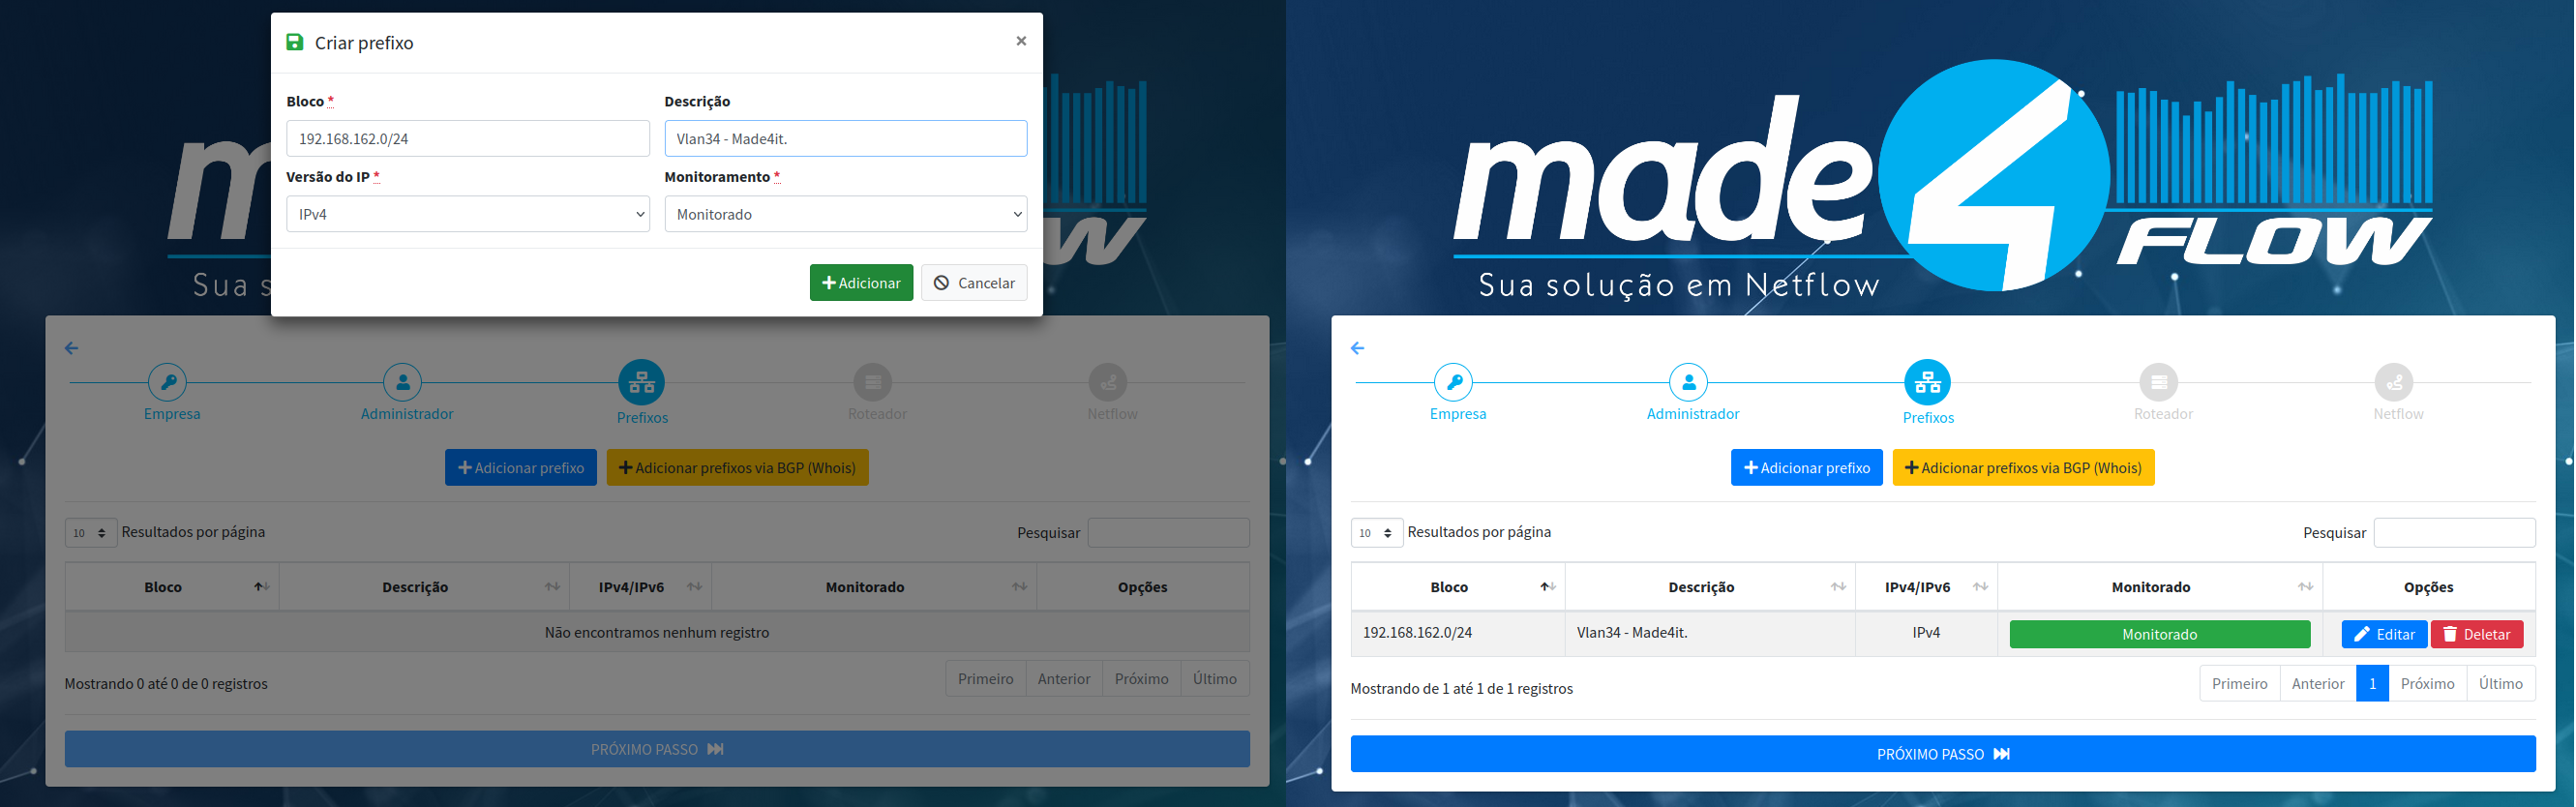
¶ Third step
Now we need to register the network prefixes that belong to our network in the tool.
Registering prefixes helps us to better filter graphics and identify traffic Spoofing in our network.
¶ Fourth step
In order for us to recognize Netflow/Sflow exporters, we need to register them in the tool:
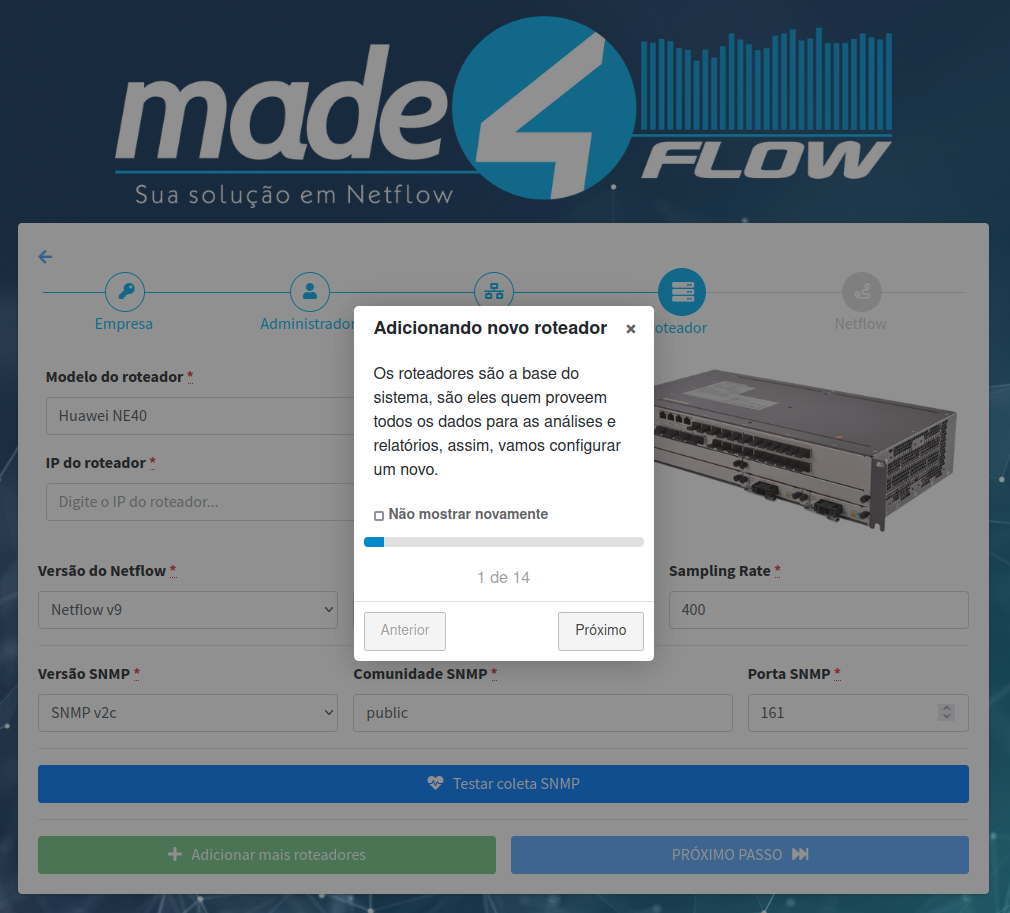
After filling in the information, you can add more routers if available in your license, or go to the next step.
¶ Fifth step
In this step, we will generate and apply the settings of the registered exporters.
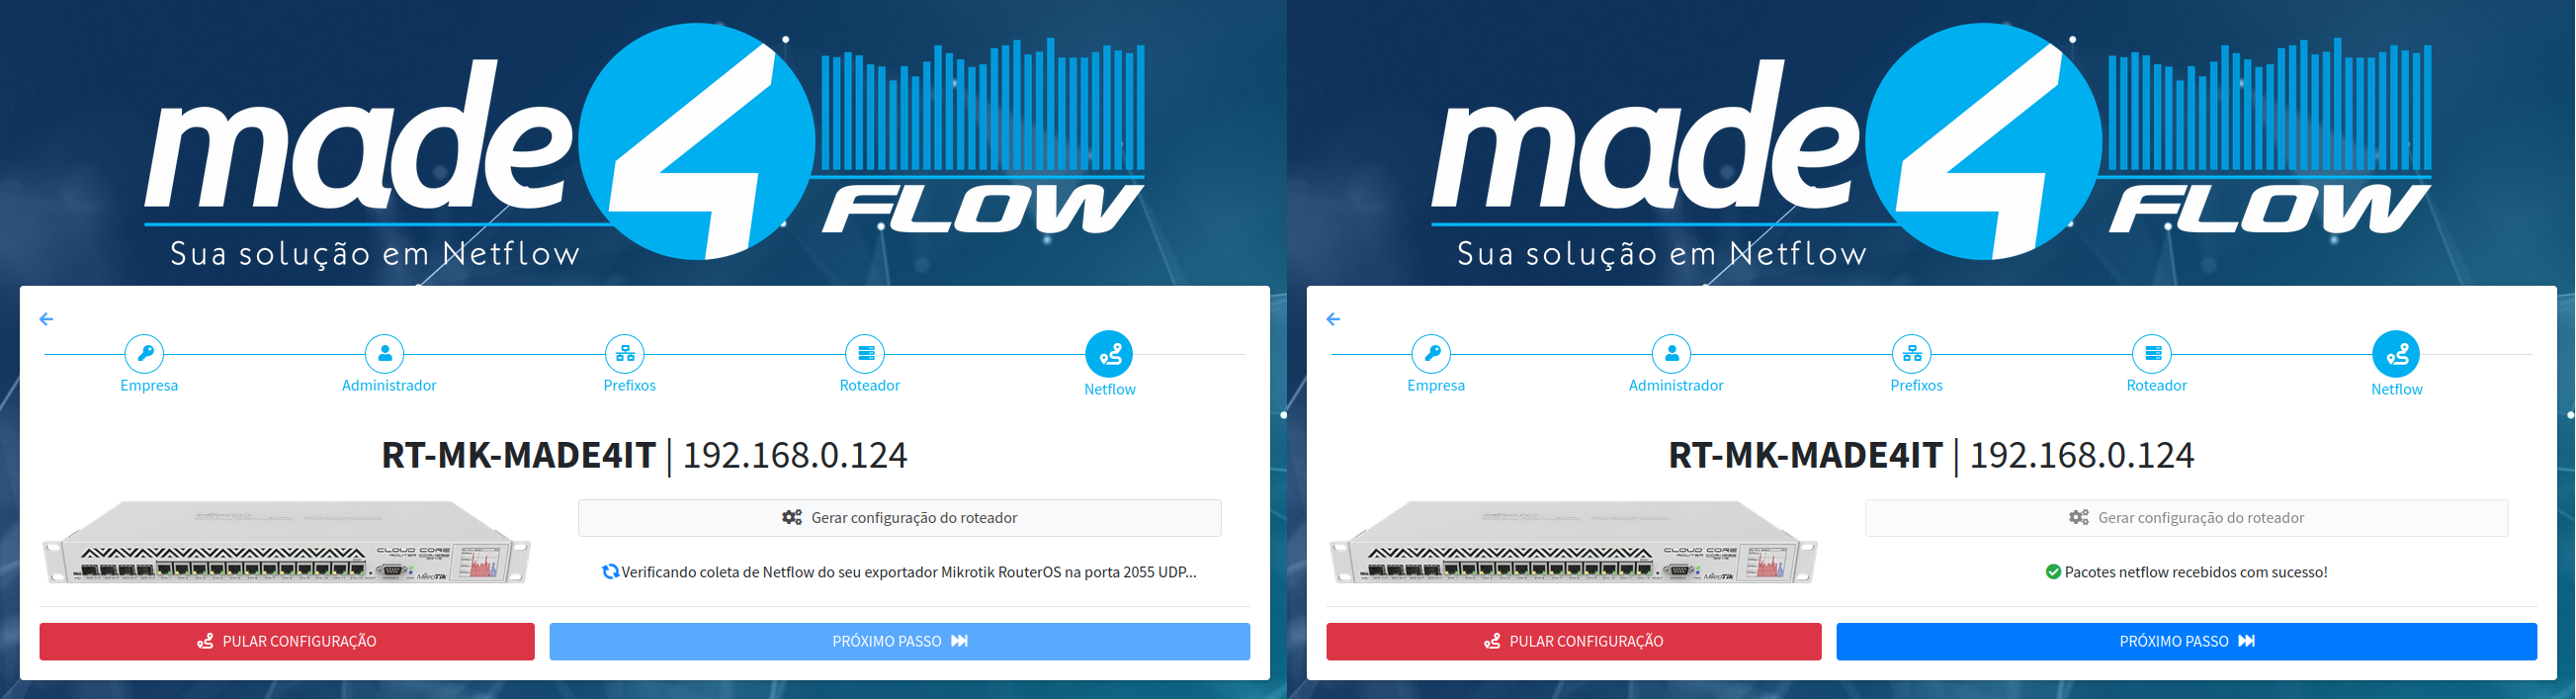
After configuring all exporters to send Netflow to the Made4Flow server, we can proceed.
¶ Success!
Ready, we finalized the installation of the system.
You can look at the other available wikis that can help you: