
¶ Installing the template for Made4Flow
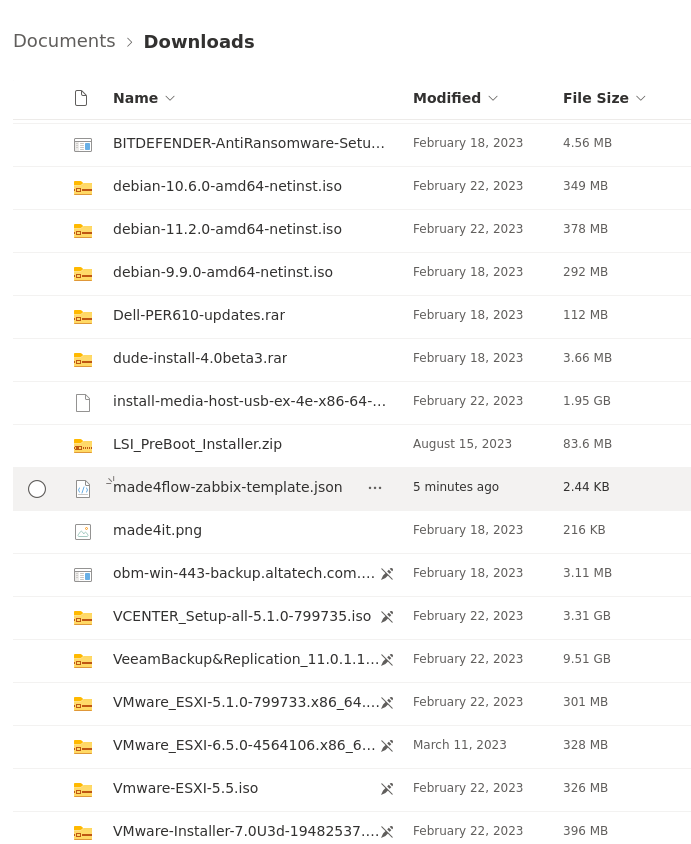
To start, let's access the Made4it public folder to download the template, search for “made4flow-zabbix-template.json”:
https://www.made4it.com.br/downloads
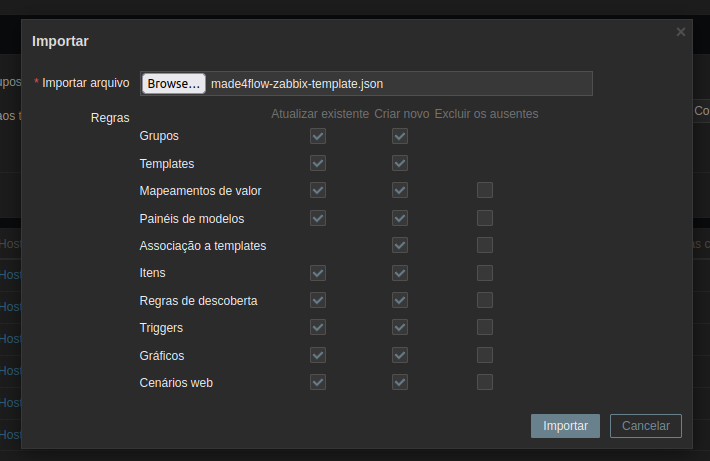
Now let's import it into Zabbix:
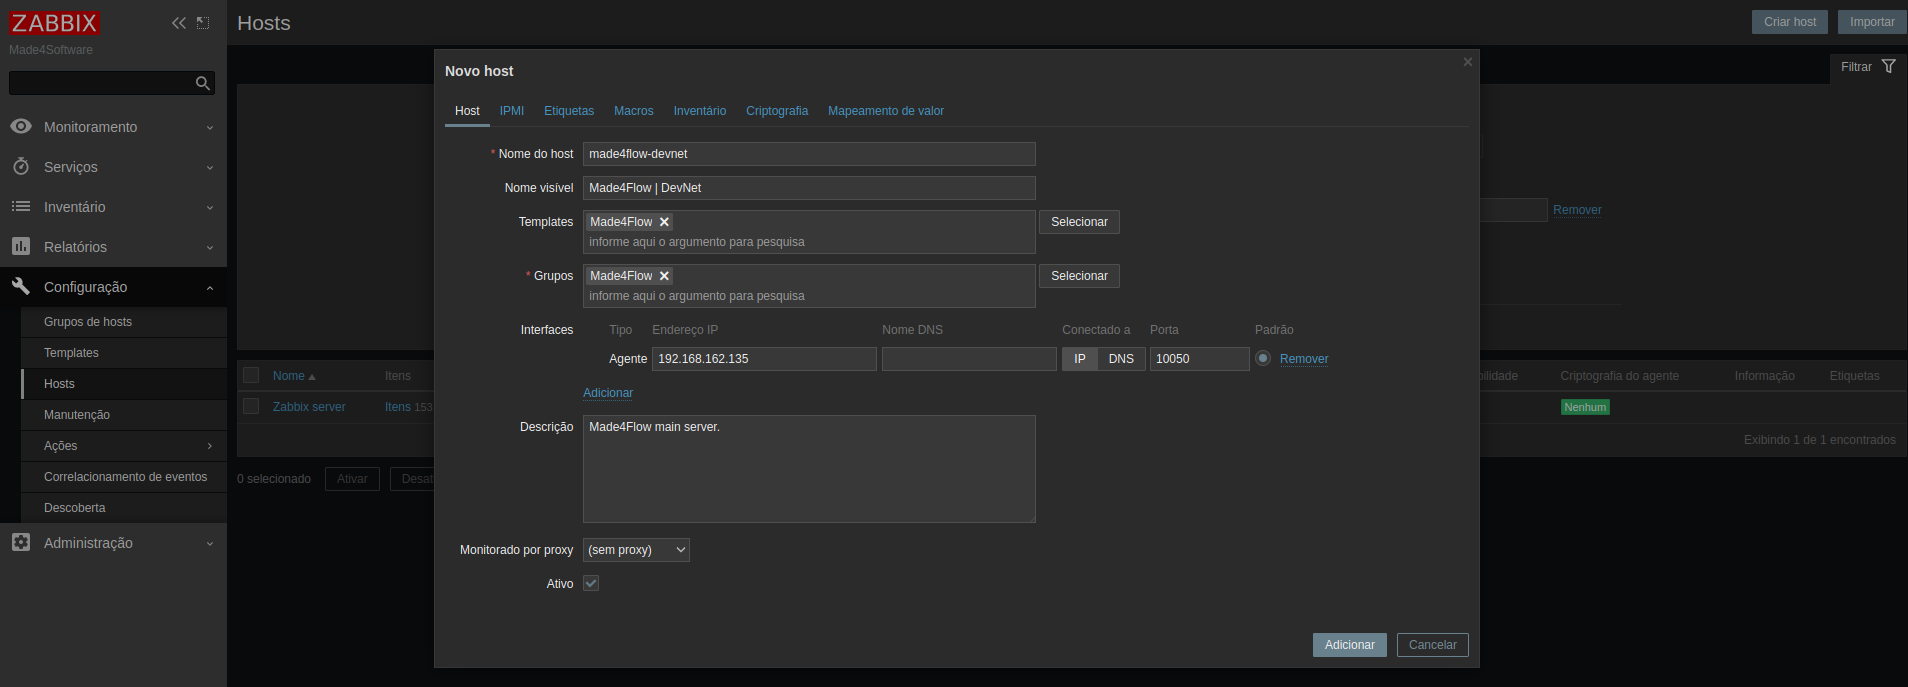
And that's it, we can now create a new host with the new template:
Remember to adapt the information according to your needs!
Finally, let's upload the zabbix-agent to the Made4Flow server:
cd /opt/made4flow
vi docker-compose.zabbix-agent2.yml
Now paste the content inside the file:
version: "3.9"
services:
  made4flow-zabbix-agent2:
    image: zabbix/zabbix-agent2:alpine-6.4.6
    container_name: made4flow-zabbix-agent2
    hostname: zabbix-agent2
    network_mode: host
    user: root
    restart: unless-stopped
    privileged: true
    volumes:
      - /var/run/docker.sock:/var/run/docker.sock
    environment:
      - ZBX_HOSTNAME=made4flow-devnet
      - ZBX_SERVER_HOST=192.168.162.187
Replace the”192.168.162.187“by your Zabbix IP or domain
Replace the”made4flow-devnet“by the hostname you added to Zabbix
docker compose -f docker-compose.zabbix-agent2.yml up -d
To confirm that everything is correct, the logs should look like this:
docker container logs -f made4flow-zabbix-agent2

And that's it, we're going to have monitoring enabled:
