¶ Thresholds Configuration
¶ Description:
¶ What does she represent in the system?
The main function of a Threshold is to identify possible anomalies, being an essential feature for the operation of the Anti-DDoS system.
It sets traffic limits based on the ip address or subnet, helping the system detect whether traffic from a specific ip or subnet is exhibiting typical attack behaviors.
Threshold is associated with the ip prefixes, determining the maximum limit of traffic that a ip or Subnet can generate, both in Mbps and PPS (packets per second). These limits are set through the decoders.
configured in the Threshold, as well as for specific protocol traffic, such as TCP, UDP, HTTPS, QUIC, ICMP, DNS, among others.
When the traffic from a ip or Subnet exceeds one of these defined limits, the system identifies it as a possible anomaly and initiates a detailed analysis of that traffic.
¶ Creation:
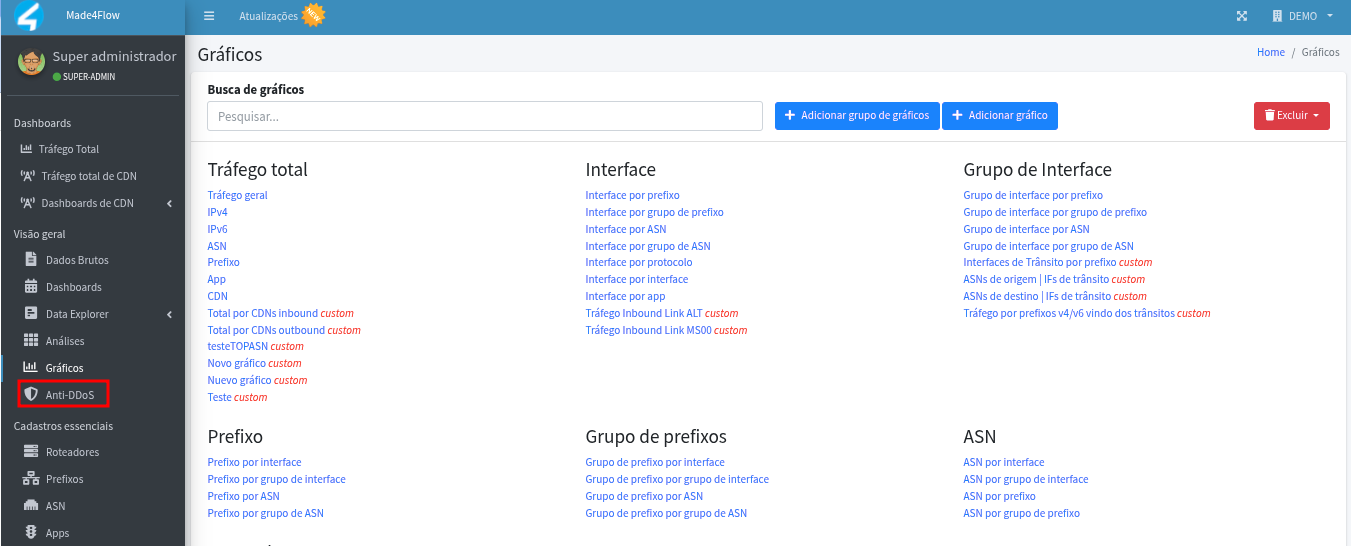
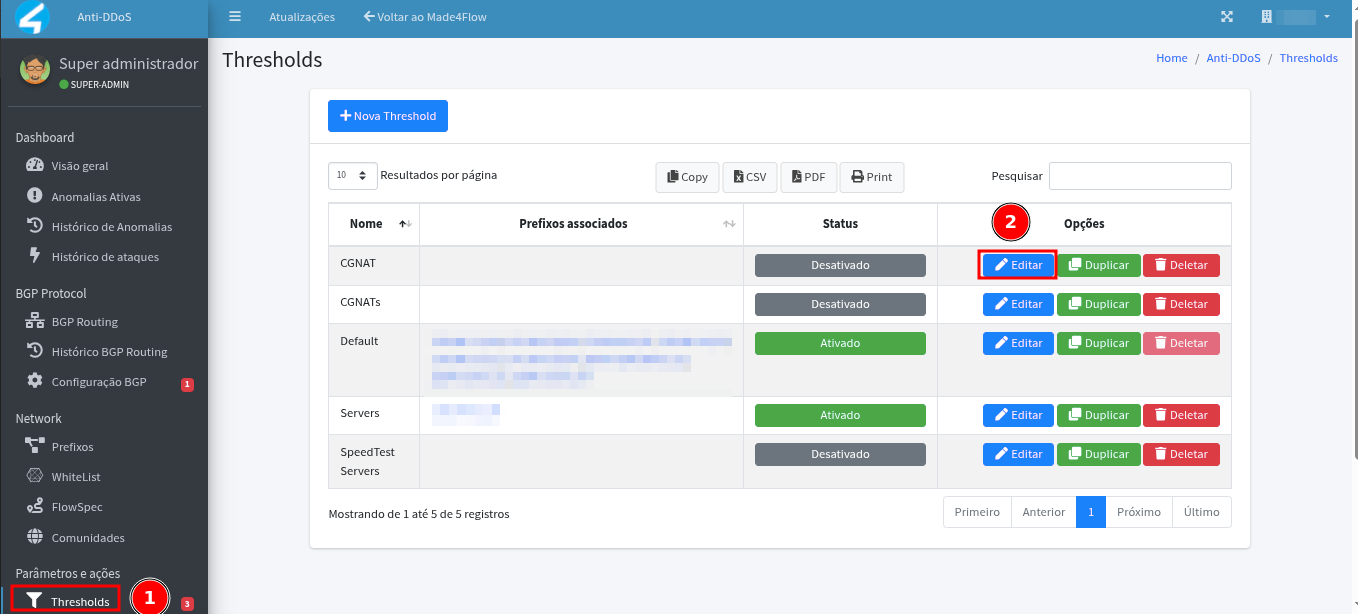
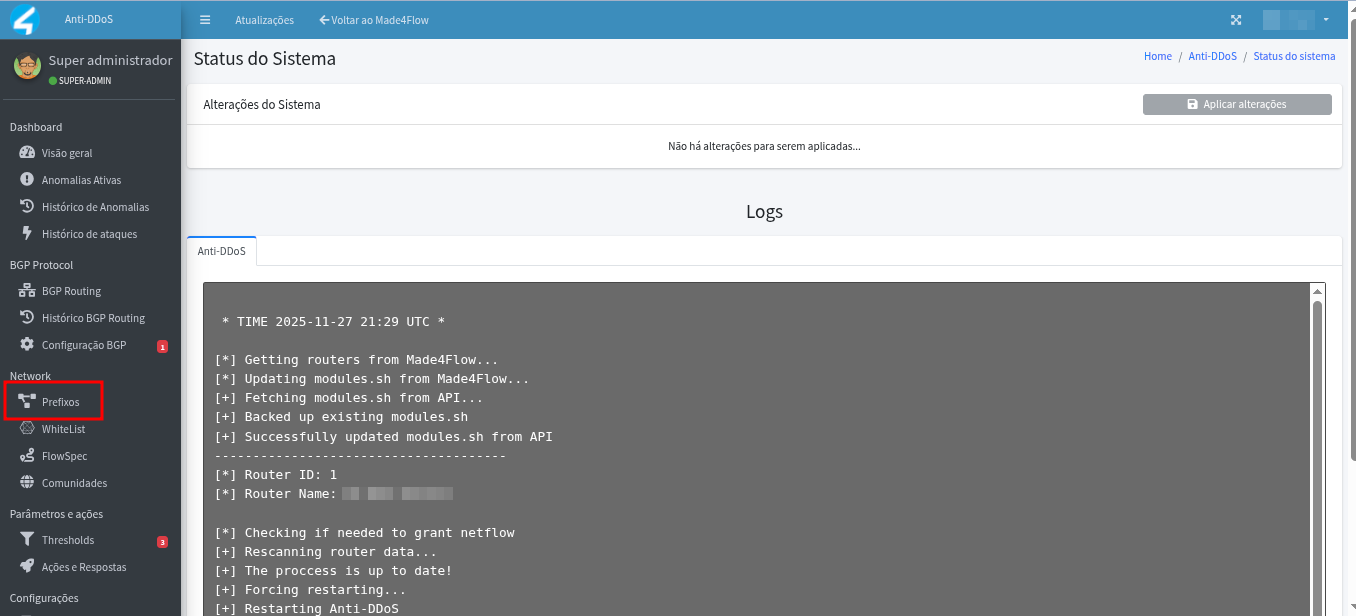
To register a new Threshold, click on the left side menu, on Anti-DDoS:
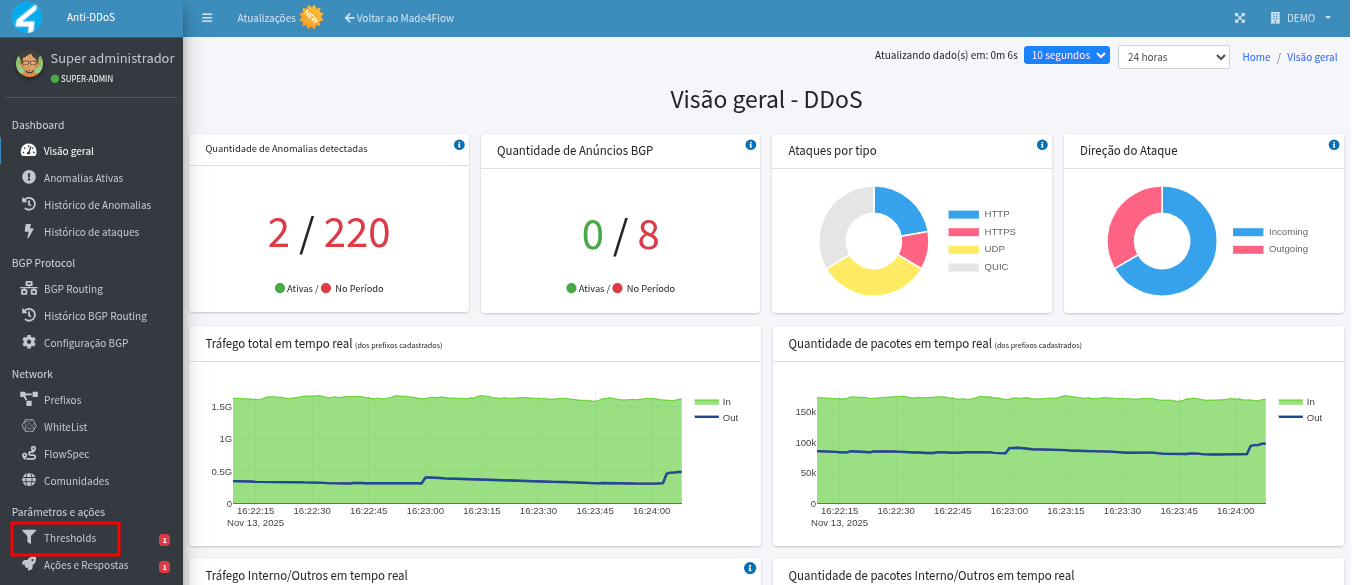
Then in Parameters and Actions, click on Thresholds:
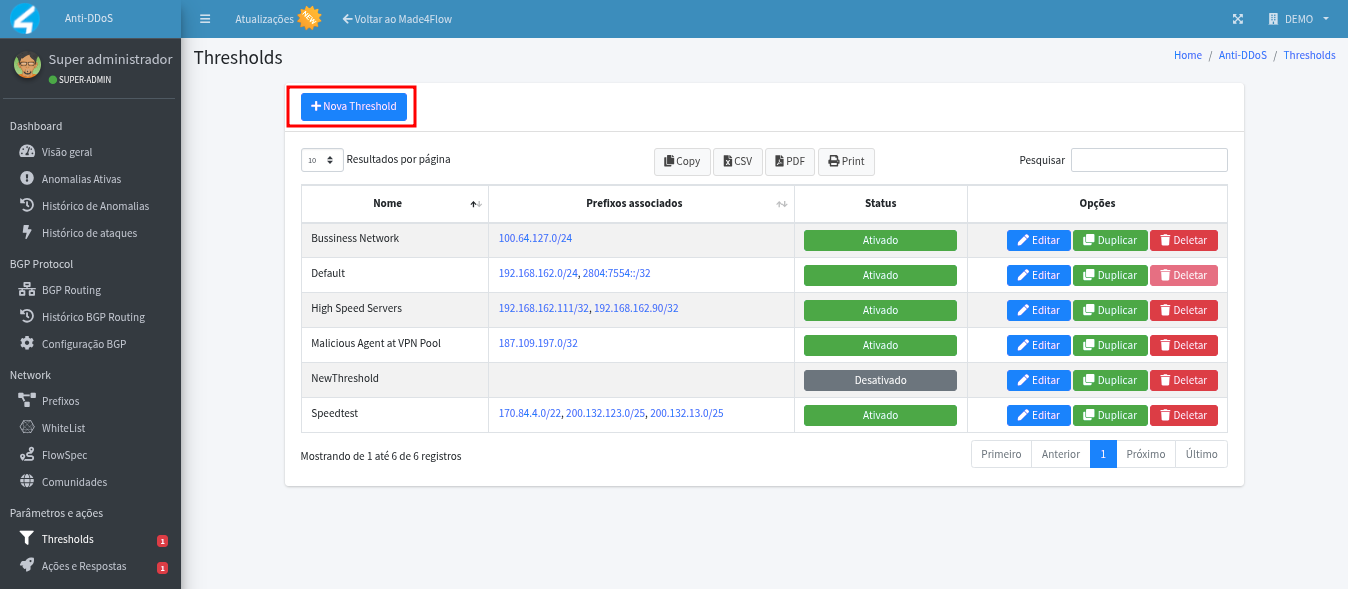
Now, on the central screen, click on New Threshold to create:
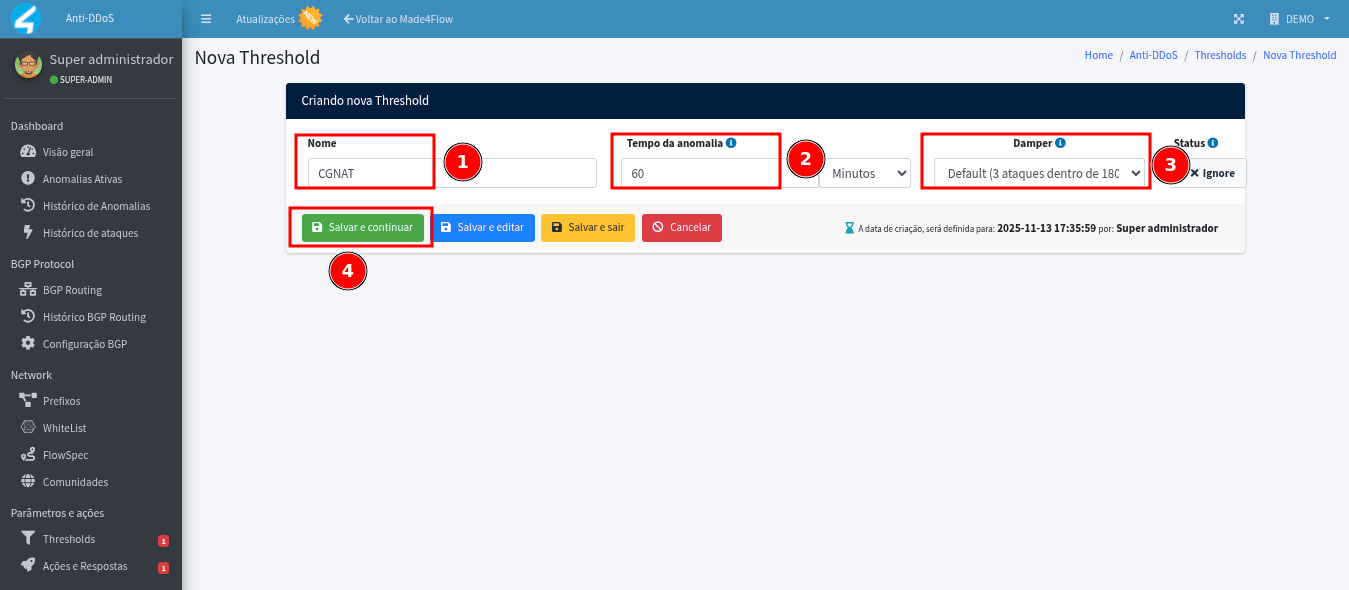
Here are the definitions of the fields:
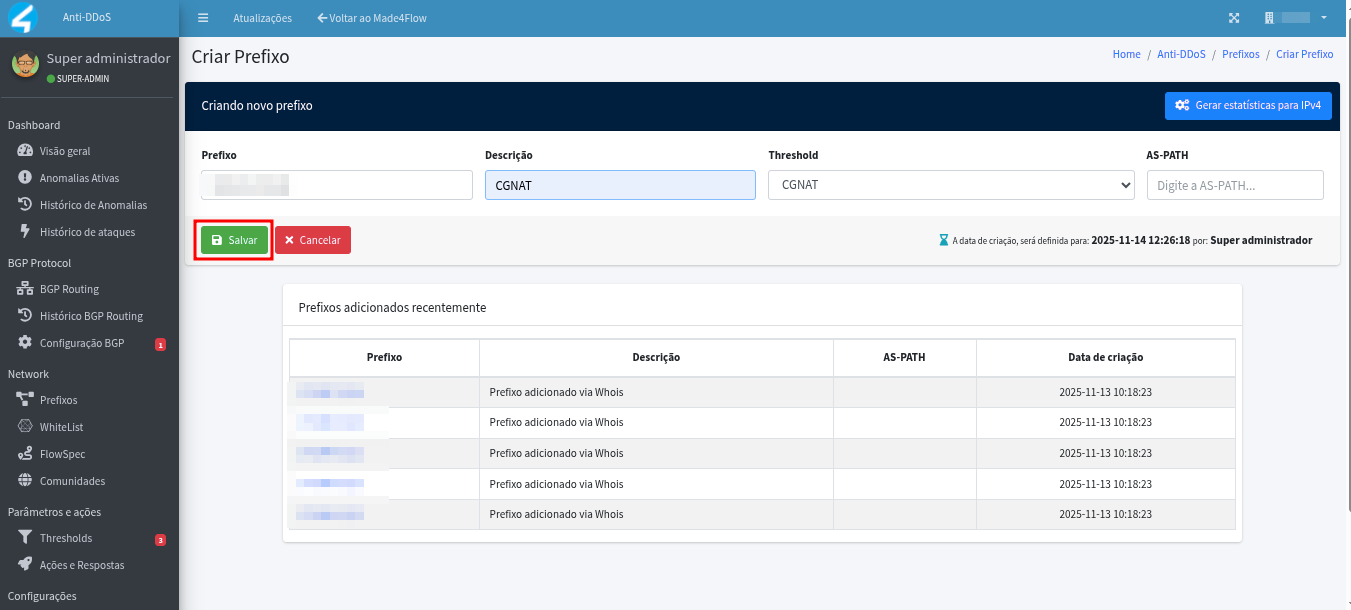
Name: In the "Name" field, define a name for the Threshold, such as, for example, CGNAT.
Anomaly Time: It is the time that the anomaly will remain active in the system, regardless of the time defined in actions and responses.
Damper: The Damper field is very important as it defines the number of times and the time interval at which the alert needs to be triggered to be classified as an anomaly.
After filling in these fields, click on Save and Continue to finish the creation.
Click on the menu on the left side again on Threshold, and click on Edit on the new Threshold that was created.
¶ Configuration:
To determine the rules, it is recommended to start from the Total Megabits per second that the associated IPs can achieve and from that value convert to Total Packets per second and traffic per protocol.
Below is an example of a Threshold configured for IPs that reach a maximum of 1000 Mbps:
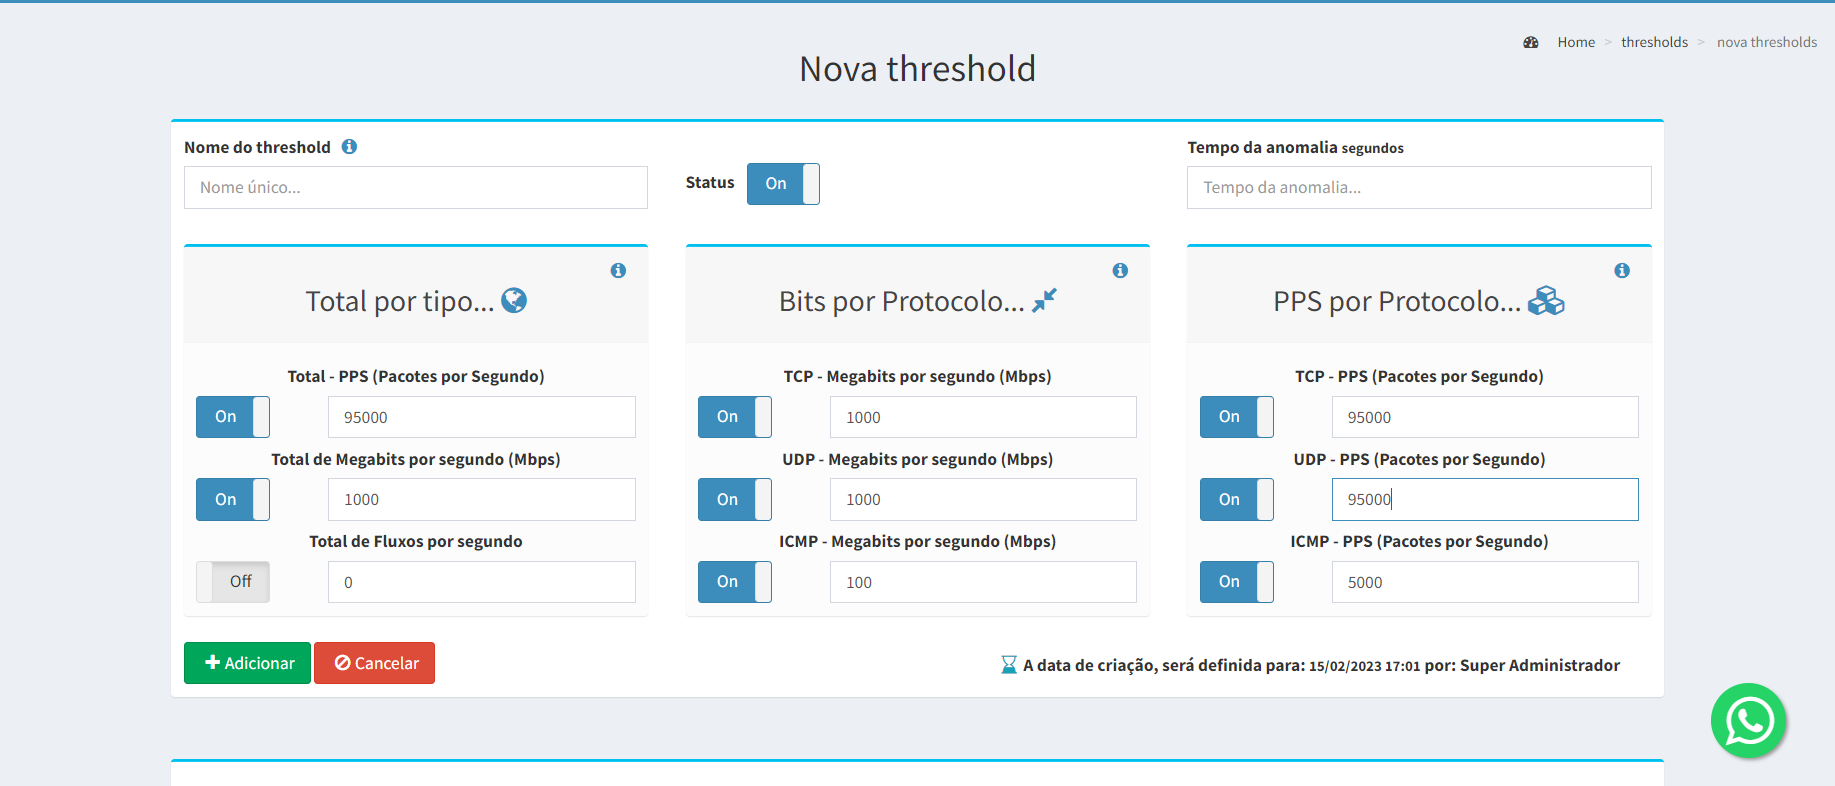
To start setting the values of the decoders, let's use an example of a CGNAT Threshold with prefixes, where we only have residential clients, with a maximum speed of 1 GB. Knowing this, let's limit the total value of the Threshold to 1 GB and decrease the values of the other protocols.
To assist you, I will provide the percentage of reduction for the main protocols:
HTTPS: 20%
TCP: 20%
UDP: 30%
TCP (high ports): 20%
UDP (high ports): 20%
HTTP: 20%
QUIC: 20%
Regarding PPS, we define approximately 100,000 PPS for each 1 GB.
For TCP-SYN, we start with 30 Mbps and 3000 PPS. For other protocols, we apply 5 Mbps with 500 PPS.
Note: This is a standard we use to start the analysis, but ideally, you should define the values according to your network/prefix traffic and adjust false positives.
Let's continue with the settings. Now, let's set the values of the decoders, which are responsible for limiting traffic according to the defined values and protocols.
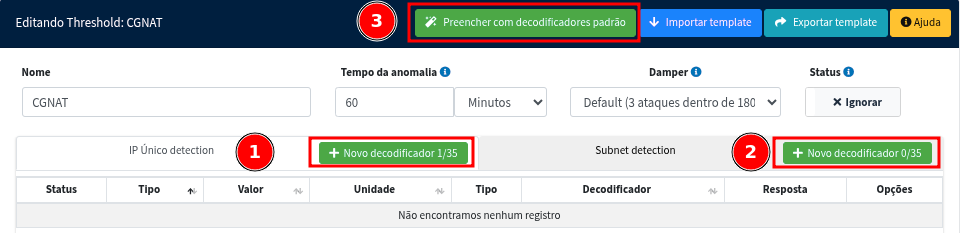
1- ip only: Identification will be performed when the decoder values are exceeded by ip;
2-Subnet: The identification will be performed when the values of the decoders are exceeded by Subnet.
3- Or by clicking on Fill with default decoders, in this case the system will set default values (the system does not analyze the traffic),
Automatically creating decoders with default values for unique ip and Subnet.
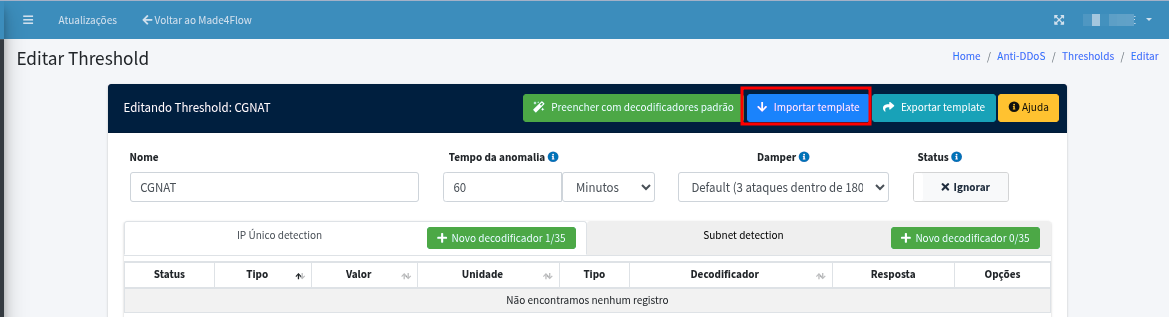
Finally, we have the option to Import a template ready, already with the values defined:
To add a decoder for a single or Subnet ip, click on the desired option in + New decoder 0/35:
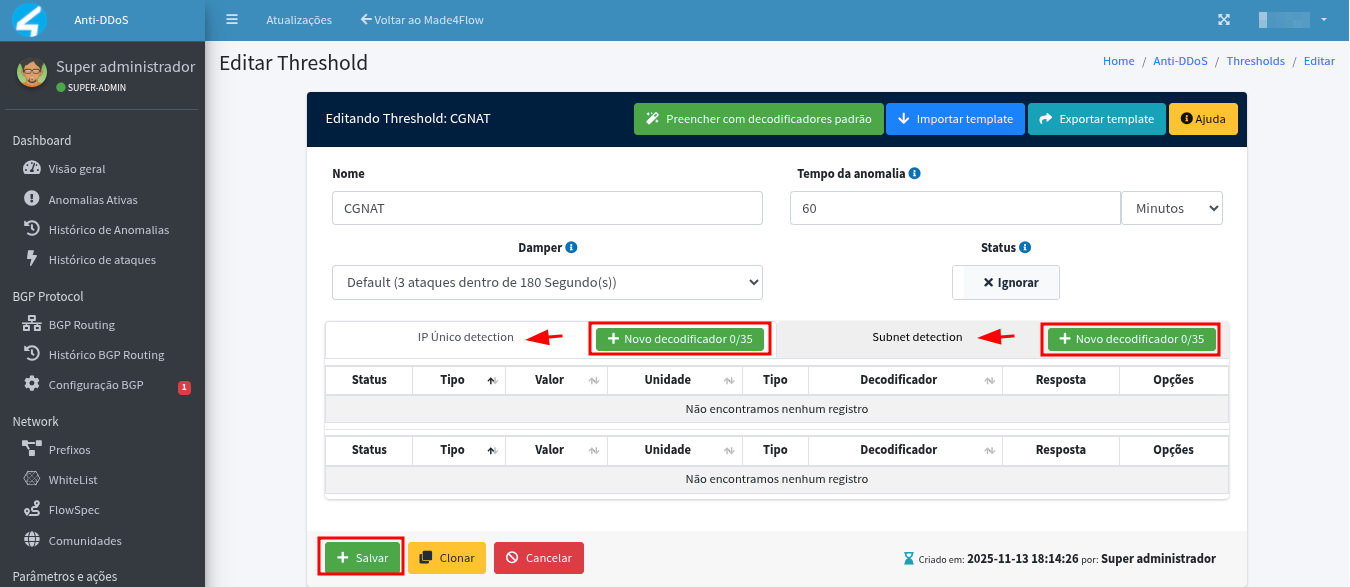
After selecting, click on + New decoder, fill in the fields:
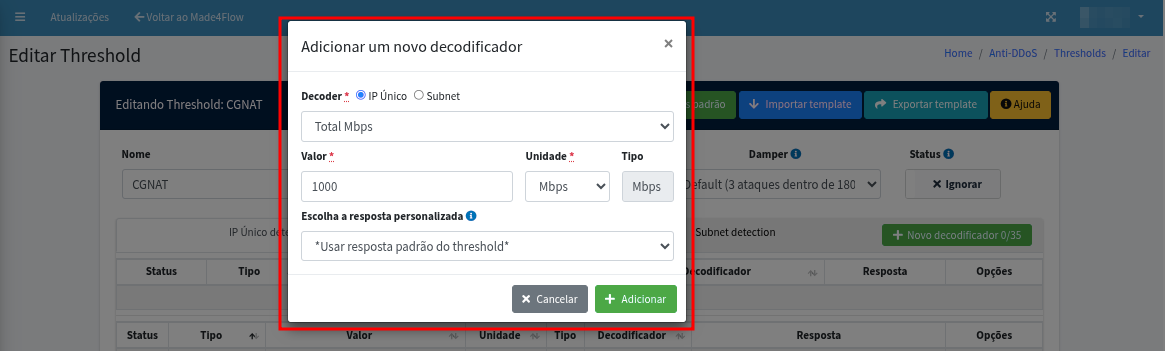
Definition of fields:
Decoder: Will select the protocol/decoder to be created;
Value: It is the value we will set for the decoder;
Unit: Whether it will be PPS or Mbps;
Choose the custom response: If you choose a custom action, only that action will be executed.
and the threshold standards will be ignored;
We recommend keeping the options as they are, and clicking on add and setting the values, this way for all 35 decoders.
both for PPS and Mbps, they will appear to be added automatically.
After setting the value, click Add, continue adding for all decoders you will use.
We recommend adding all decoders.
After adding the decoders, click on Save and View changes:
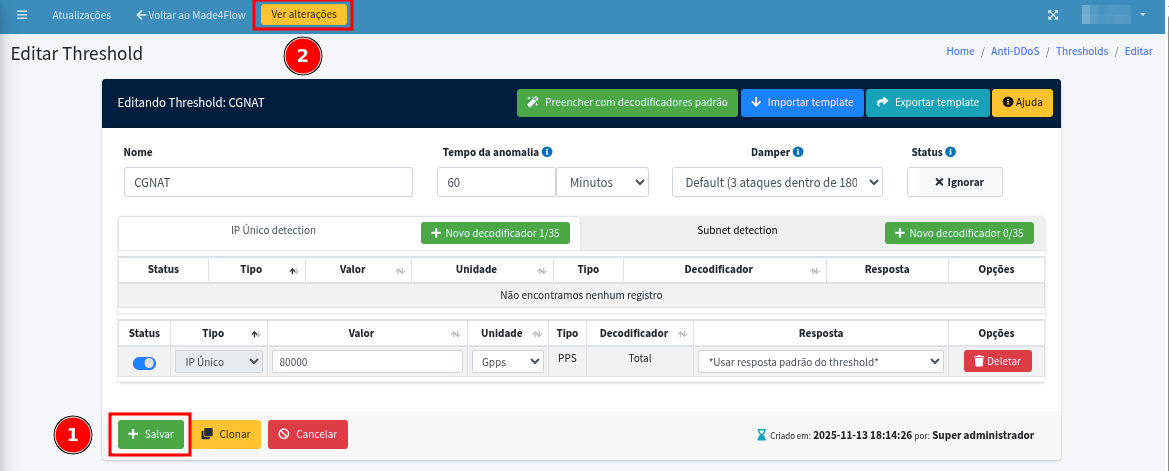
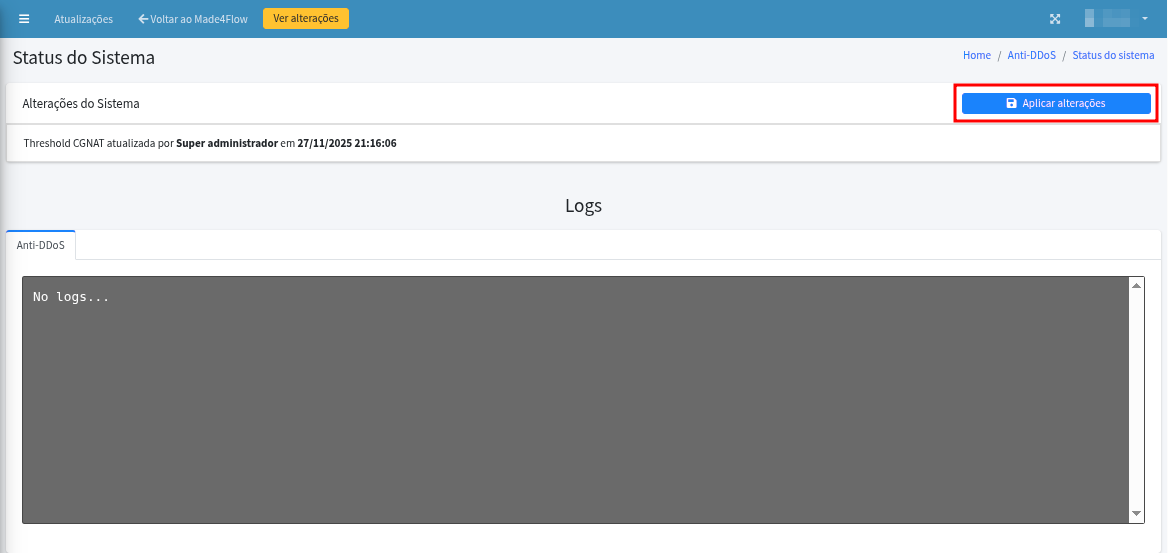
Apply changes next:
After all decoders have been added, we now need to associate the prefixes with the threshold, for that, in the menu on the left side click on Prefixes:
On the central screen, click on Add Prefix:
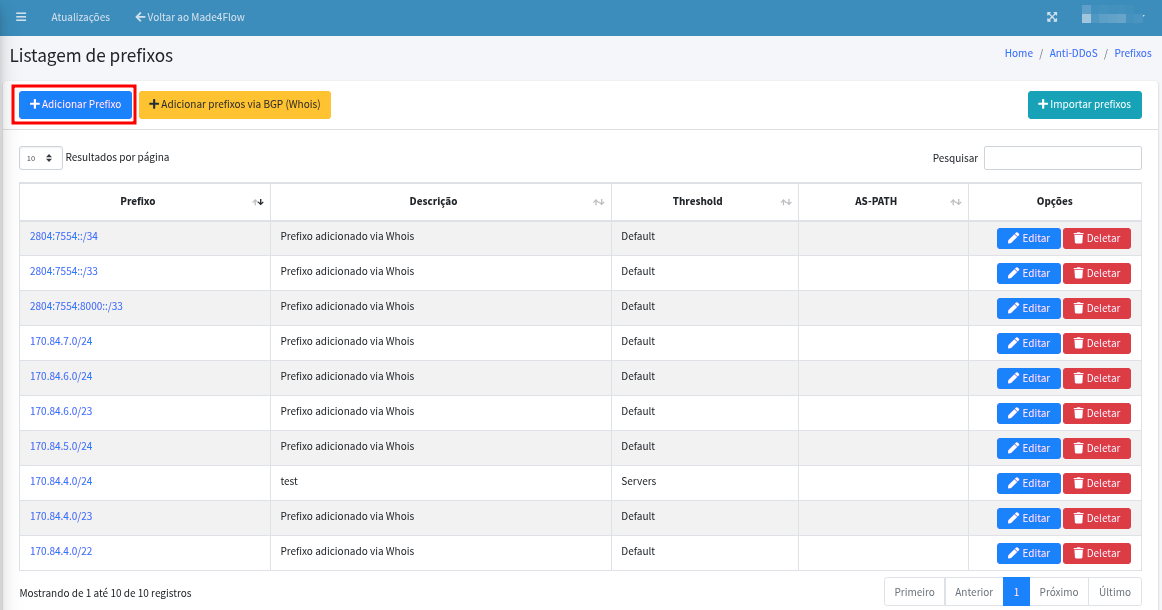
Fill in the information for the prefix field, description, and in the threshold, select the one we created, then click save:
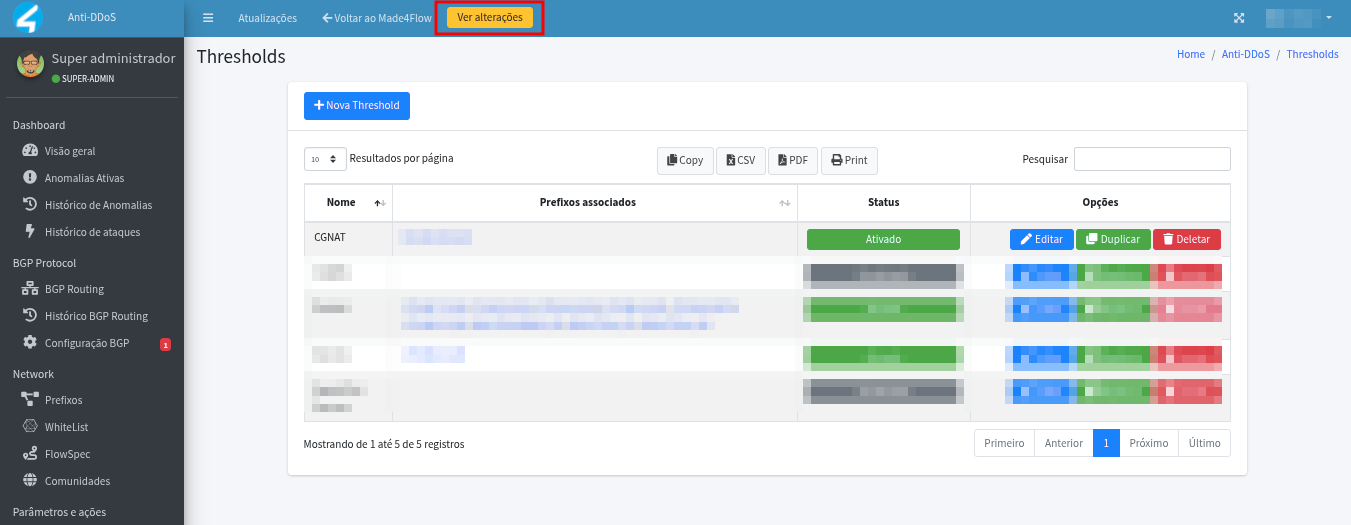
In the side menu, click on Threshold, on the central screen, we can see that the prefix is already associated with the threshold that was created. Now, to finish, we need to Activate the Threshold we created, click to Activate:
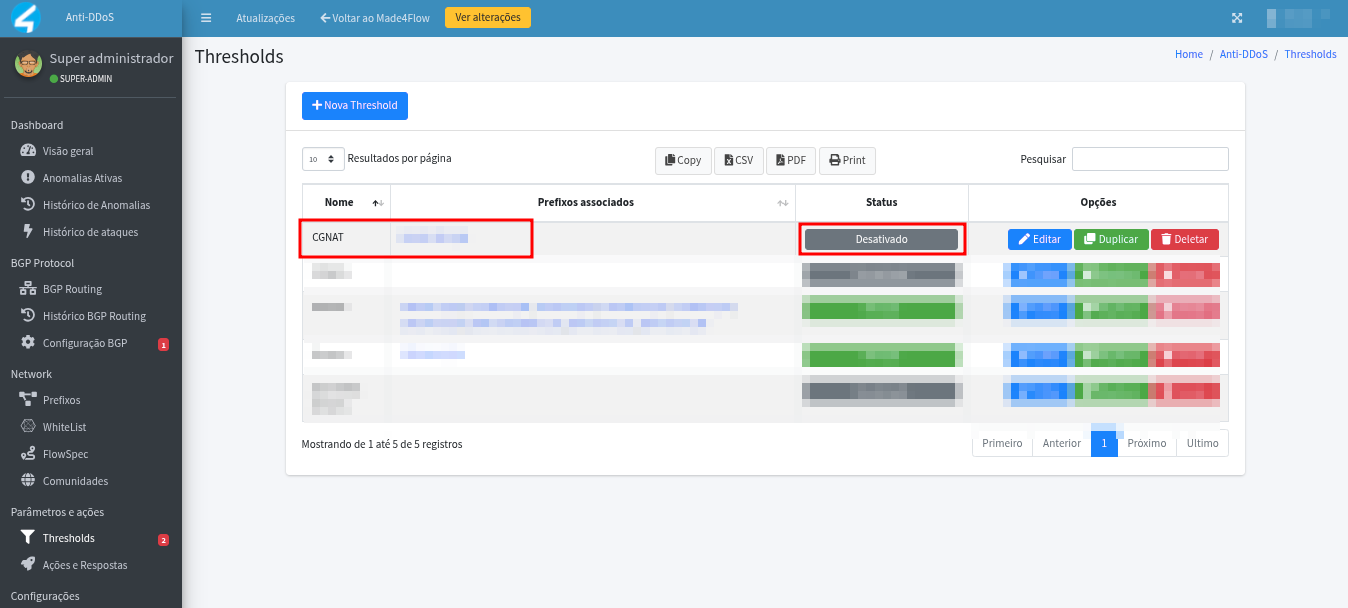
After activated, we need to click on View changes, then Apply changes.
¶ Final considerations:
With these settings, we have created and configured our threshold, it is already active, and ready to identify alerts.